When we first got chickens, we were trying all kinds of things we read online to get the most out of our laying hens. This project was one of those silly ideas to try and provide more “daylight” for the chickens year round, so they would lay eggs year round.
I threw this together on a weekend. With these basic features in mind:
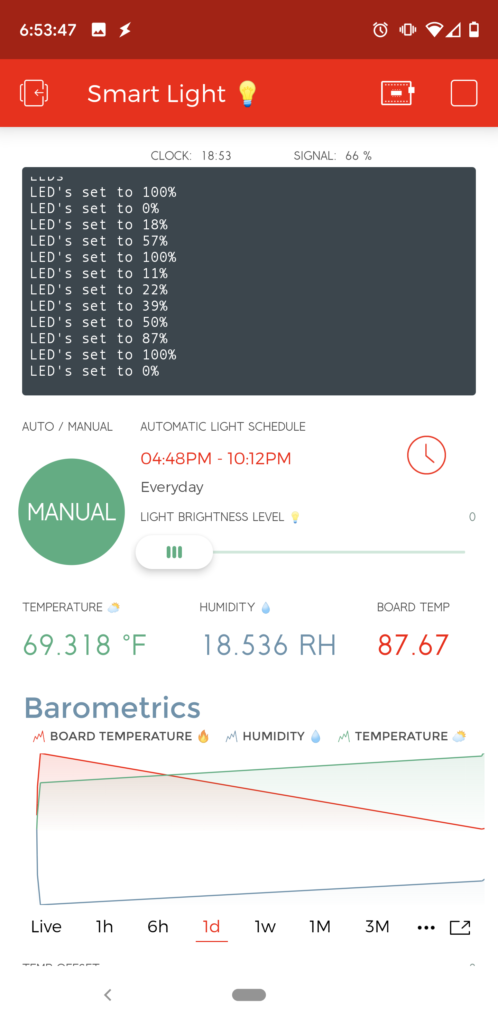
- On and off schedule
- Dimmable
- Log temperature and Humidity
- Battery Powered
I used the following parts to make it happen (mostly because I already had them available):
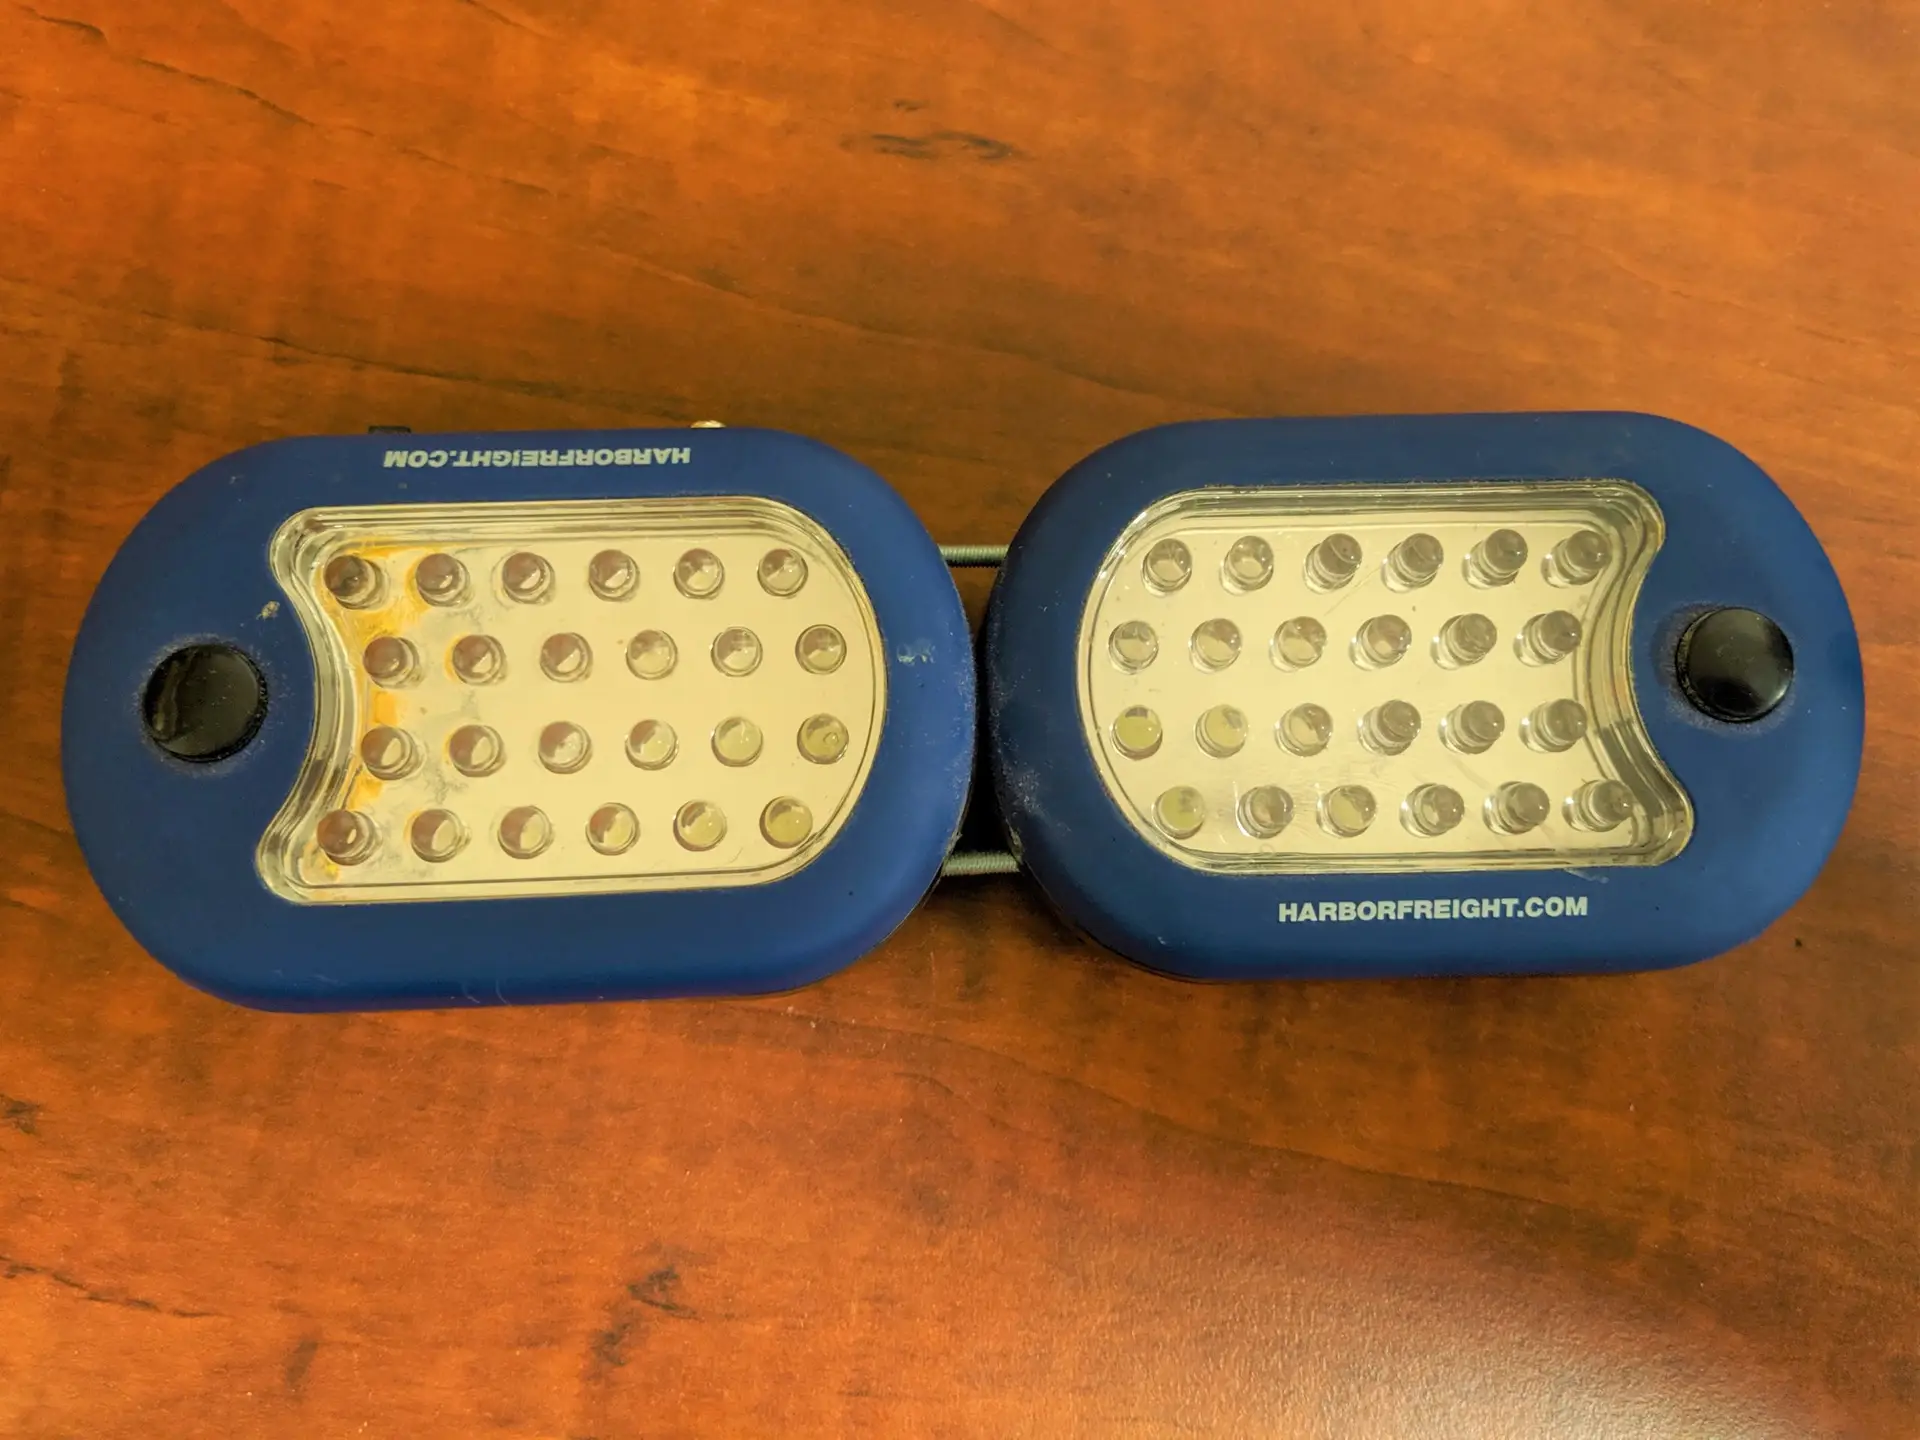
- Harbor Freight Ultra Bright LED Portable Worklight/Flashlight
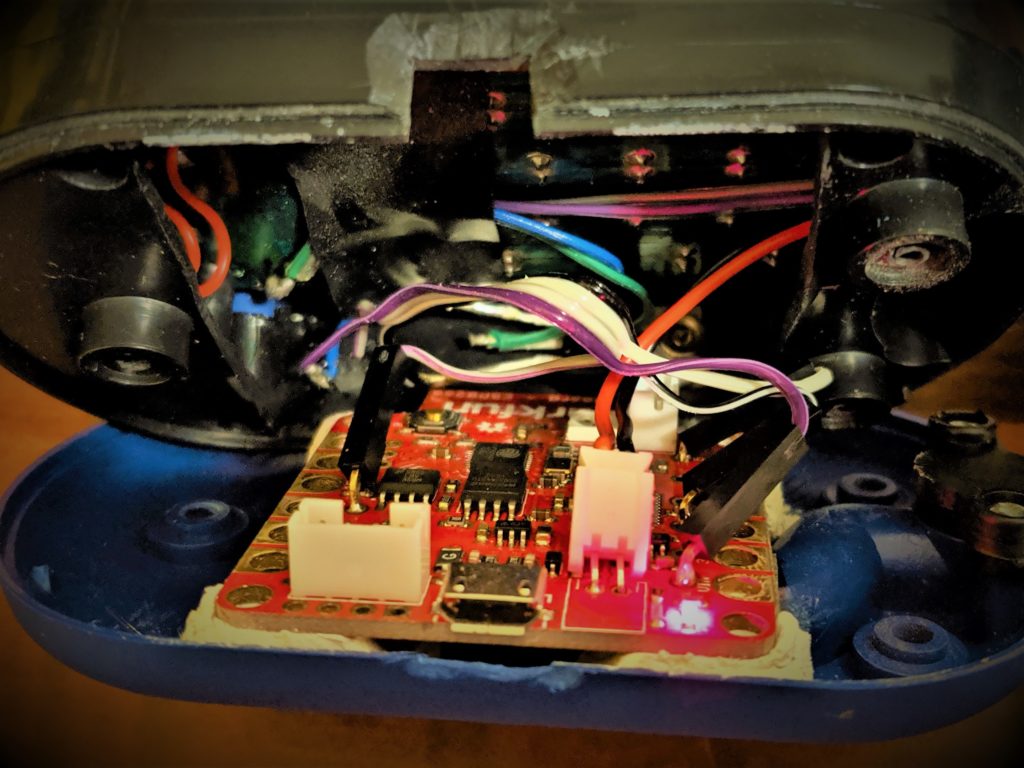
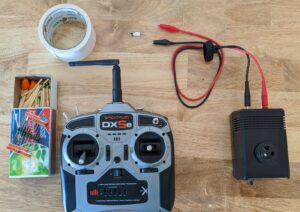
- SparkFun Blynk Board – ESP826
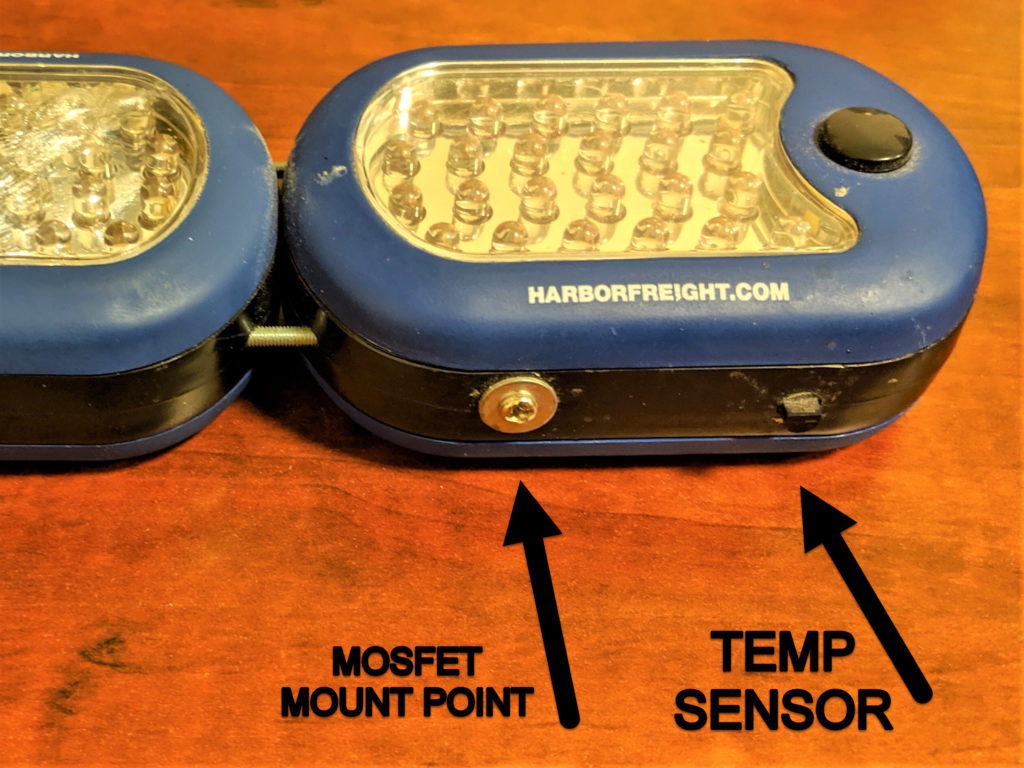
- Temperature Sensor – TMP36
- N-Channel MOSFET 60V 30A
- JST Jumper 2 Wire Assembly
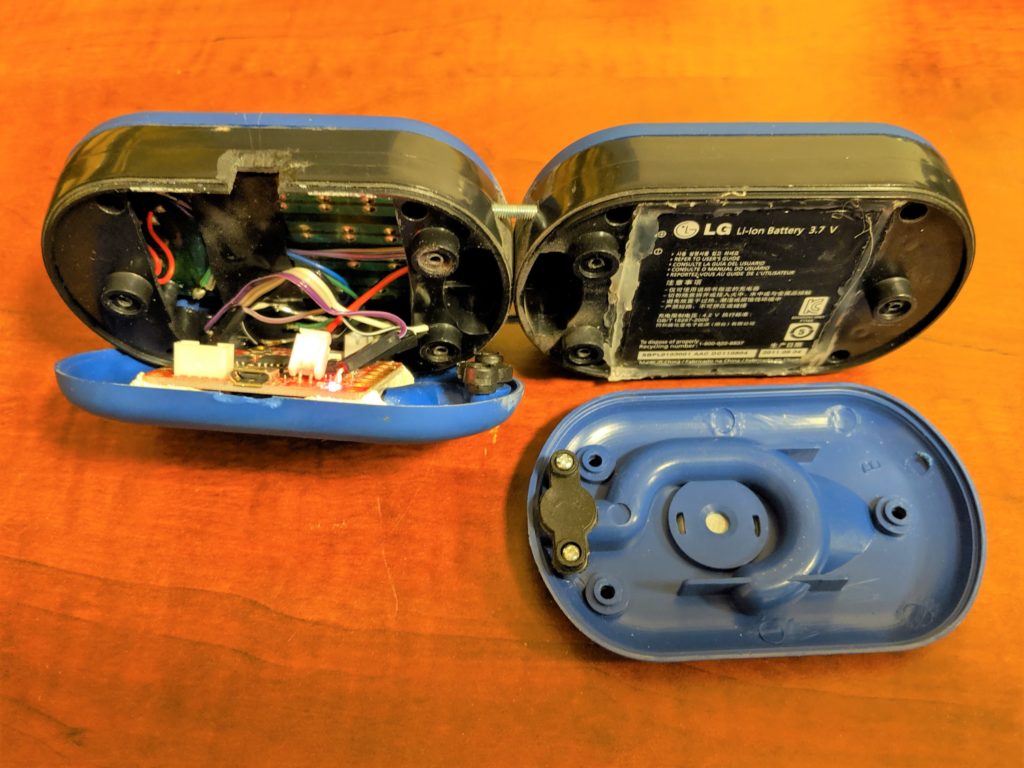
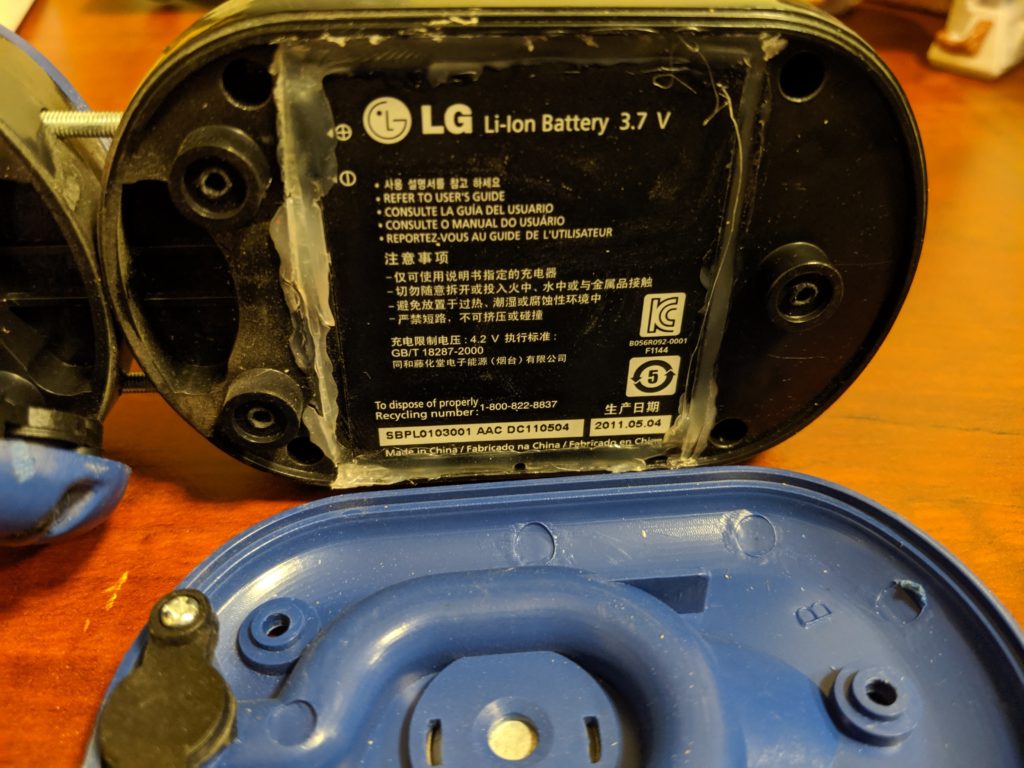
- LG SBPL0103001, 3.7 V, 4.8Wh Li-Ion Battery Pack
- 1″ 6-32 Machine Screw x 2
- 6-32 nuts x 2
I’m not going to go into a detailed step by step process on how I put this together, but hopefully between the pictures and description you can get the idea.
I followed these general steps to assemble the hardware:
- Layout placement of parts in the lights
- Modify light fixture
- Cut out battery holder
- Join the two lights together
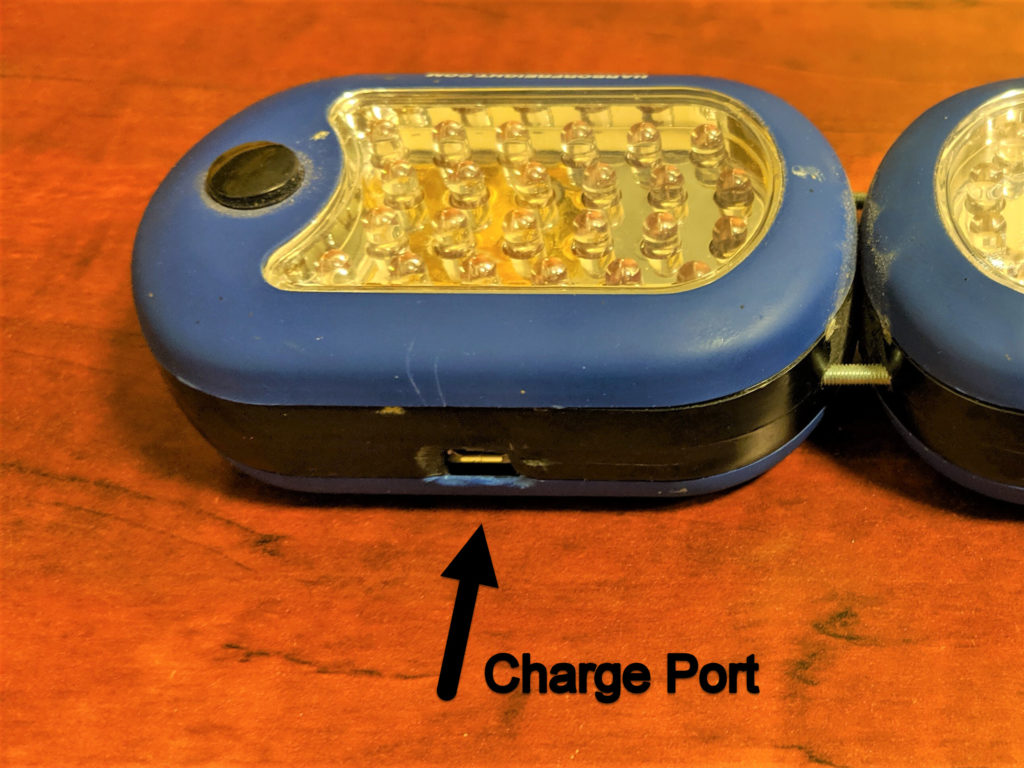
- Drill out holes for charge port, and mounting points
- Wire components and fit into lights
- Solder the JST Jumper wire to the battery so it can be plugged straight into the Blynk board
- Wire the MOSFET Source -> GND, LED Cathode -> MOSFET Drain, LED Anode -> Vin, MOSFET Gate -> Pin 5. (Circuit Demo)
- Wire temperature sensor to the ADC pin
- Test, rinse, repeat
- Semi-permanently mount board and battery
- Close it all up and test
Arduino sketch and Blynk app source: https://github.com/RubenFixit/smart_light_sf_blynk