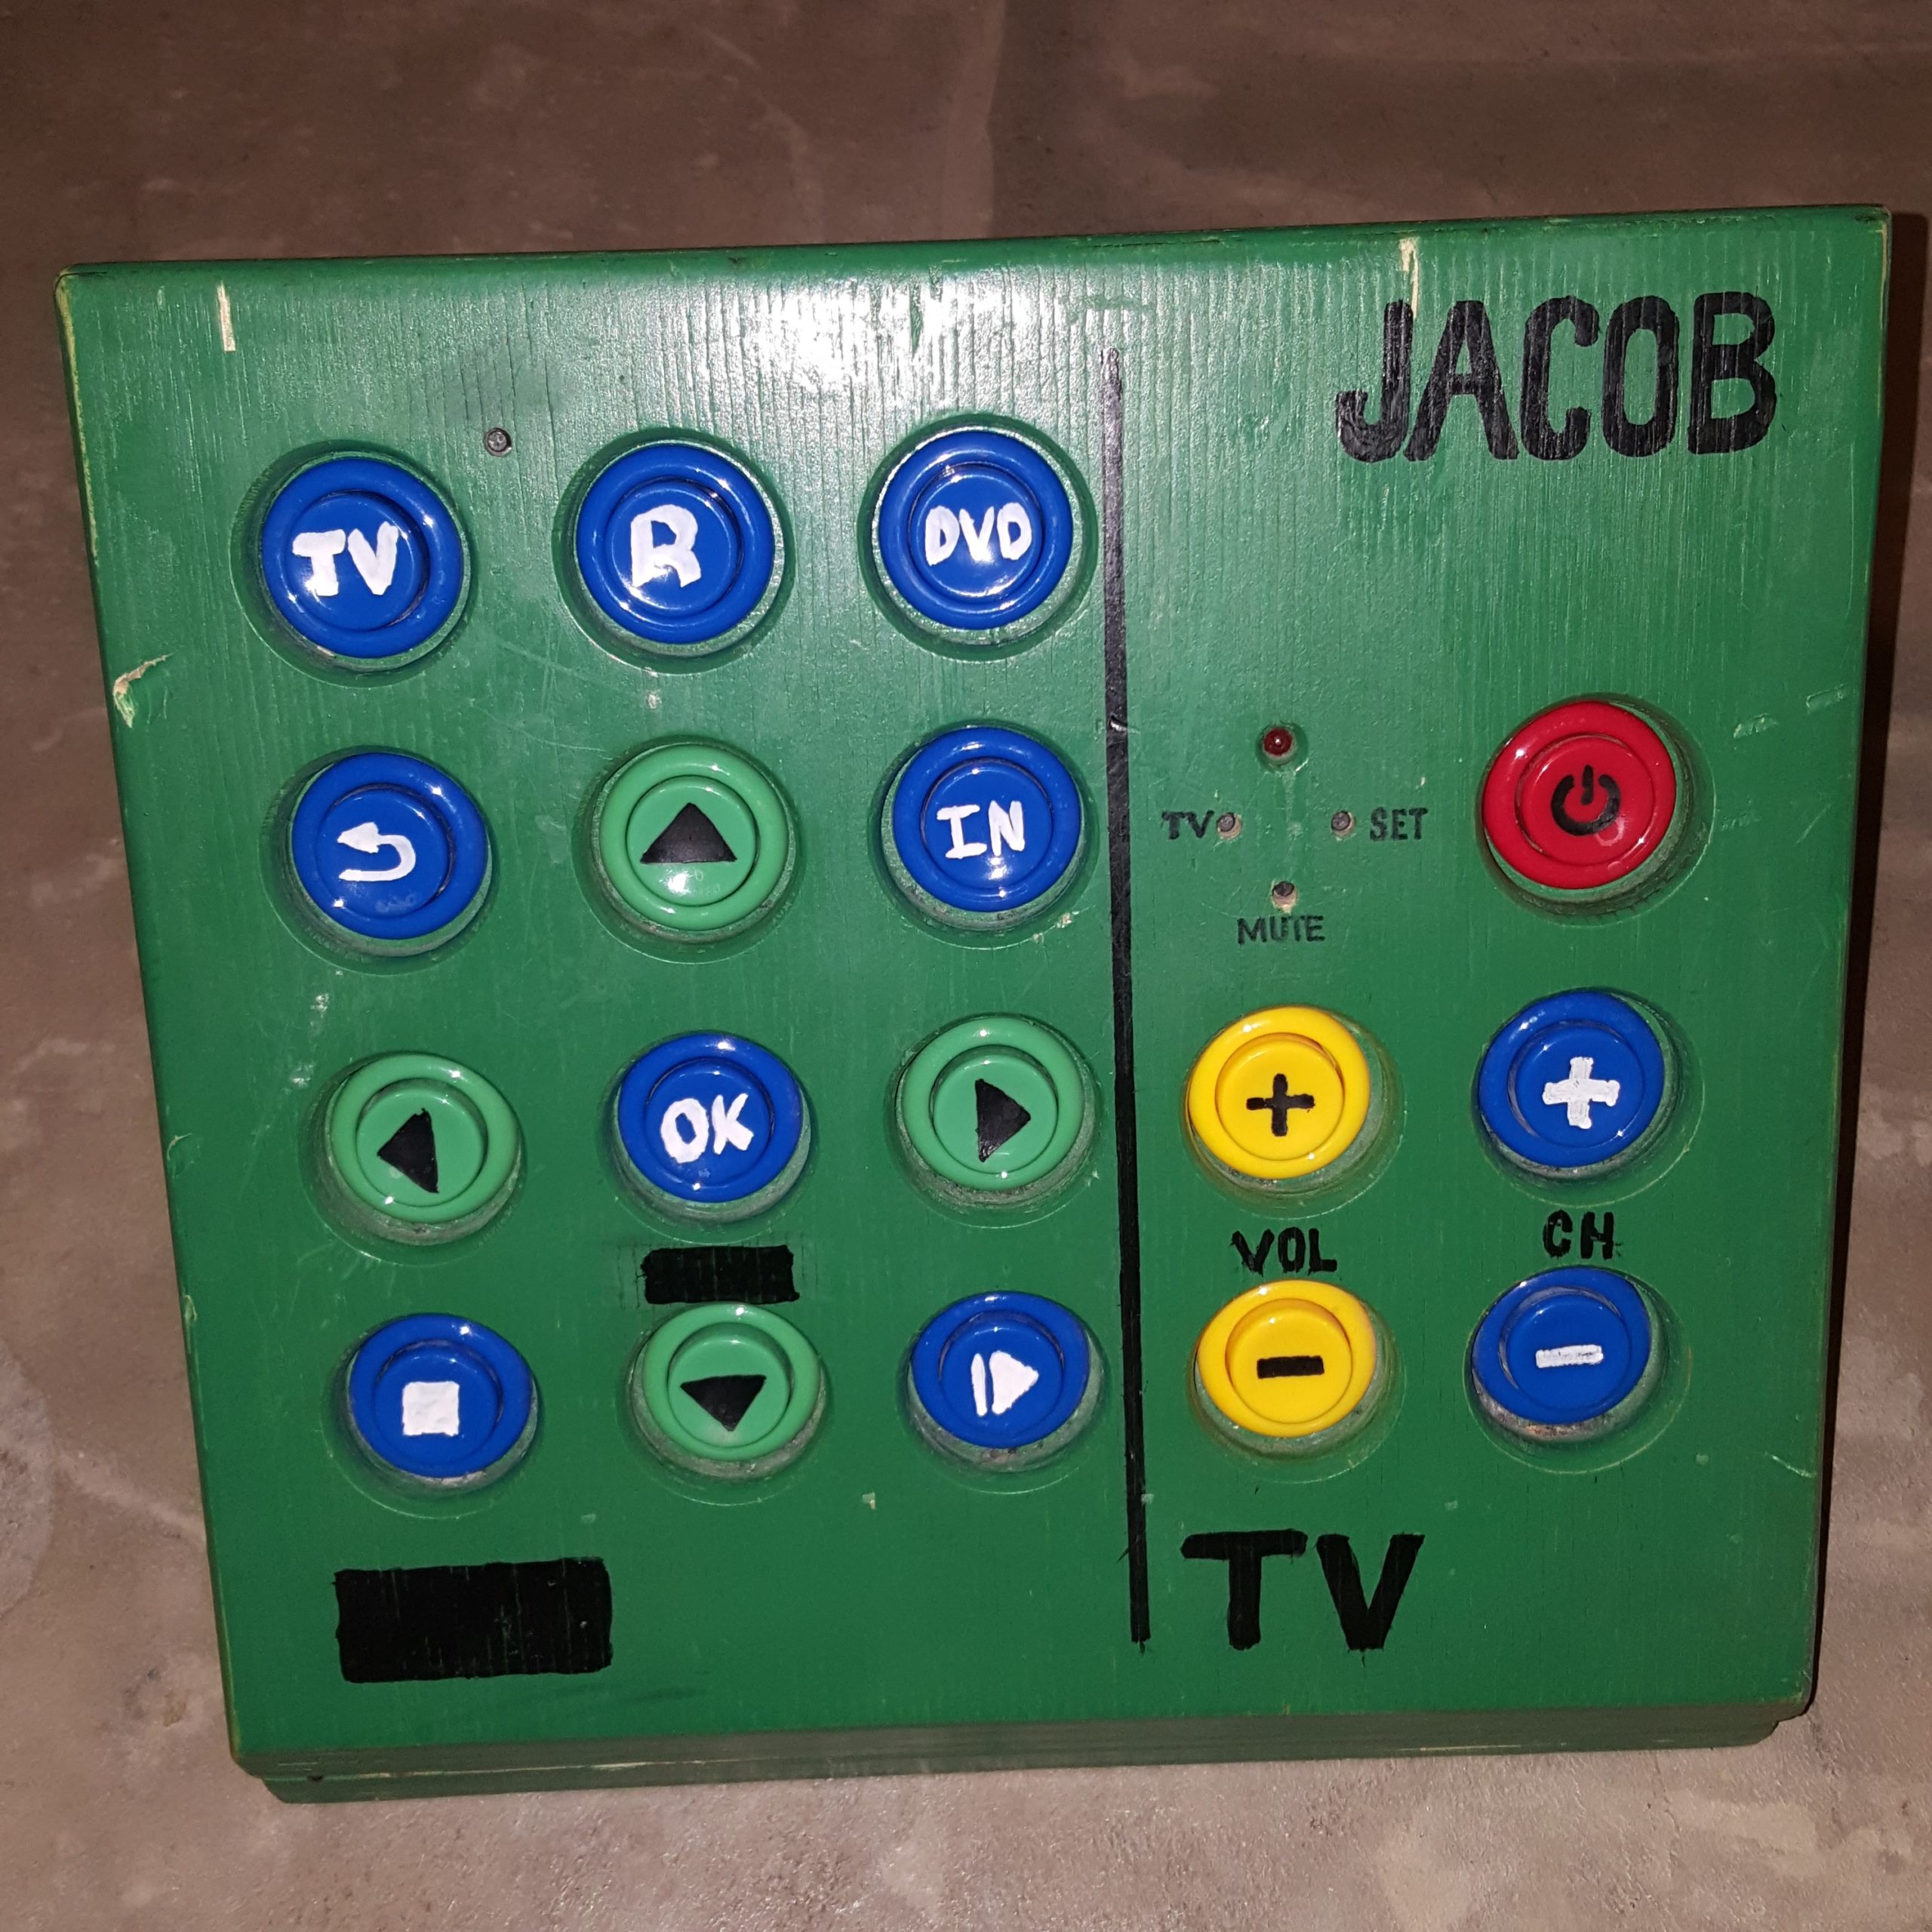
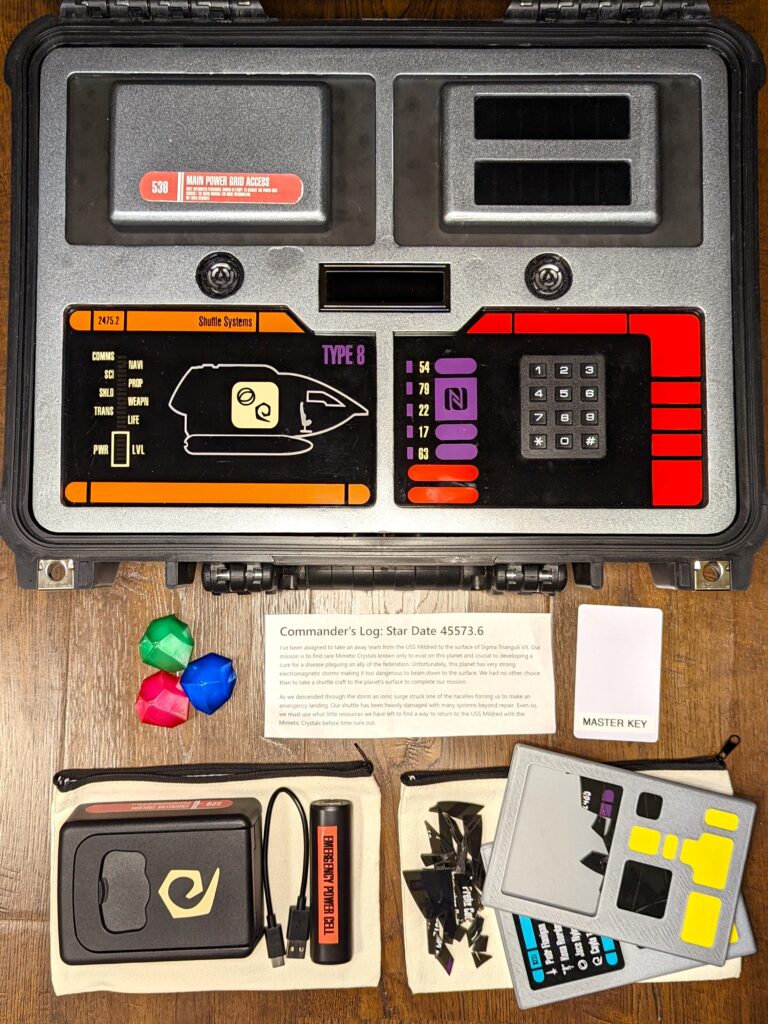
Remote Firework / Rocket Igniter

Have you ever wanted to remotely launch a model rocket, or some fireworks safely? I know I sure have. So I came up with this method using an RC airplane transmitter, receiver, and an Electronic Speed Controller (ESC). By using the built-in ESC safety feature, that requires the throttle to be raised, lowered and then raised again before powering a motor, I could do just that. For rocket ignition, you simply connect the ESC to the rocket igniter. If you don’t have any of those lying around, some low wattage resistors work well. Essentially by overloading the resistor you cause it to get hot enough to ignite a fuse.

To keep all the electronics safe, I placed them in a hobby box, then added a super loud tweeter as an additional safety feature. That way everyone is aware when the system is armed and active.

Happy 4th of July!

Mega Button Remote – Wireless charger

As a simple upgrade to the Megabutton Universal Remote Mk II+ / Adaptive Universal Remote, here is a simple way to add wireless charging to almost any project.

Parts

  • USB Wireless Charger Receiver
  • Wireless Charger

By attaching the wireless charger receiver to your device, you can then use it with a compatible wireless charger. In the instance of the Megabutton Universal Remote Mk III, I carved out a section of the base to ensure the receiver was completely flush, then covered the entire wireless charger receiver with tape to protect it, as it is quite thin. Then I built a tray to hold the wireless phone charger creating a charging station. Now Jacob can slide the Megabutton remote into the charge station whenever the batter gets low.

Adaptive Universal Remote

Adaptive Universal Remote

AKA Universal Meagbutton Remote MK III

I finally was able to make another revision of the Universal Megabutton Remote. My brother-in-law Jacob has been insisting for some time for me to upgrade his current box. Unfortunately the modification of the Logitech Harmony 200 didn’t hold up to constant use over 3 years. The USB extension cable I soldered on broke off and is now nearly impossible to repair and reprogram.

Harmony 200 remote USB pads torn off
Logitech Harmony 200 Remote Universal remote Hack Failed after 3 years

For the last few months I’ve been able to participate in a 3 person “Dream Team” to assist SupplyFrame in designing and building a universal remote for the non-profit United Cerebral Palsy of Los Angeles (UCPLA) This was part of their 2020 Hack-a-day Prize Contest. While we didn’t win any prizes the project was fully funded by SupplyFrame and their sponsor Digikey.

Delivered 3 Adaptive Universal Remotes

After a few months we came up with, designed, and built a fully open source adaptive universal remote based off the original design. You can get all source files, schematics, and CAD files at our Github Project. We didn’t originally want to go with this design, but in the long haul it was the best option with the limited time and resources we had. You can read about the entire process on Hackaday – 2020 HDP Dream Team UCPLA.

Power Wheel Hacks

We inherited this power wheels ATV from a dear family that moved out of state. It needed some “fixing” before we could have some fun with it. These are the things I’ve done to it since we got it.

New Battery

The original battery had long since died, and my 18V cordless drill batteries were the only ones I had that were remotely powerful enough to make it move. Sure the voltage is a bit higher than the 12V ATV is designed to run on, but now it goes faster! Also, I’ve been running it on 18V for 3 years now and it still runs great. As you can see in the photo’s I used a standard RC battery plug. Then created battery adapter to spade wire terminals. I used bits of wood to keep the right spacing of the spade wire terminals for battery connection and removal.

Bike trailer hitch

The problem with having siblings is you need to share. So I thought they could all have fun together if they could pull each other around. So I came up with this trailer hitch. Get a 3/4 in. PVC 45 degree elbow, and drill a hole clear through one side for the trailer cotter pin to go through. Then place a piece of scrap 2×4 on the inside of the battery bay, and put at least 3 screws through the PVC elbow through the body into the 2×4.

Painted it Metallic Blue

RGB Undercarriage Lights

Simply added some 12V RGB LED strips to the undercarriage of the power wheels, and added the controller that came with it. The LEDs were able to operate just fine at 18V using the LED IR controller that they came with. It also adds visibility at night.

Unfortunately the LED strips eventually fell off even after gluing them down.

Battery Level Indicator

New Treads

Now that the kids are getting bigger I noticed that the wheels tend so spin out longer, and that the ATV wont stop as quickly as it used to. This was especially apparent when they tried to pull a heavier wagon. So I found a hack online on how to take a bike tire (not inner-tube) and apply it to the hard plastic wheels to give it more traction.

Pull a Parade Float

Okay this one isn’t really a hack, but was made possible because of some of the hacks. And it is a neat thing I was able to do with my kids. We had a lot of fun, and they were able to help promote Mommy’s business (pebblebaysoaps.com). We also won 3rd place for best float!

Star Wars Thermal Detonator

This is a repair job my brother came across. Apparently there were a few of these replica Star Wars Thermal Detonators made with lights and sound. Unfortunately, the one I was asked to look at, was completely dead. It didn’t take me long to find out the problem. The owner of this prop made a very terrible but honest mistake. When it came time to replace the batteries, they accidentally replaced the required N size 1.5V batteries with the similarly sized A23 12V batteries. There’s no indication at all on the battery compartment or elsewhere to clue the owner in on what size to use. Very unfortunate. At this point the internal electronics are toast and will need to be replaced, however the owner didn’t want to spend the money to get it working again. Still, it’s a pretty cool prop.

Megabutton Universal Remote Mk II+

The story behind the box

My brother-in-law, Jake, who happens to be the same age as me, was born with Cerebral palsy, and so has trouble using most everyday things. Even though he can’t speak or walk, he can get around by a sort of crawl and is good at using pictures in a binder to communicate. Though it is a bit of a guessing game.

Because of his situation he spends a lot of time watching TV shows and Movies. Whenever he wanted to watch something, he would have to find his binder, and someone willing to help, then play the guessing game until someone figured out what he wanted to watch. Then we’d have to find the DVD or VHS and put it on for him.

While most of us are willing to help, the whole process felt like it could be improved in some way. In addition to a binder for communicating, he had this tablet he could use called a Dynavox. It was large and old, and had some sort of IR capabilities. So I suggested that I could set it up to control the TV and the accessories. The only problem was that the Dynavox was unbelievably expensive and we were afraid it would be abused if left downstairs by the TV.

This is when I decided to build him a Megabutton Universal Remote. A simple durable box, that could be dedicated to controlling the entertainment center.

Mark I

Originally, their entertainment system was setup with an OLD CRT tv and a Wii. So my original design included a very simply 6 button universal remote, and a Will controller hacked to use 17 arcade buttons recessed to help prevent accidental button smashing.

The problem with that design was that the remote had to be programmed by pressing the volume and channel buttons in a proper sequence. Which was hard to remember. The problem was made worse by the fact that every time the batteries fell out, which happened more often when the battery door was lost, the remote would “forget” it’s program. Even after I put a different off the shelf universal remote, that was to remember it’s program between battery changes. The other problem was that there were limited things he could do on the Wii, and eventually the Wii controller I hacked, died.

Mark II

In the mean time I had discovered Plex, a self hosted media server that you could give access to friends and family, and had built up decent library of films me and my family owned.

When I showed my Plex media collection to my brother-in-law, he was so excited and sent me home with a box of movies to add to the collection. And he pointed out that the green box that he once loved and used so much, doesn’t work anymore with their upgraded entertainment center. It was time for a makeover.

In this new design I wanted to eliminate the most annoying problems he had with the old universal remote. Namely, settings being lost during a battery change, and tedious programming. Also I had to do something about that Wii controller.

This is when I decided to see if it may be possible to use a LG Harmony remote as the brains. I had a couple Harmony 200 remotes that I’ve used, and decided to open one up to see what I could find. One neat design I discovered on this remote is that it had bare copper test points for each trace on the button matrix. I was able to use these point to solder wires to the remote, since it is extremely difficult to solder wires right onto the button pad.

I also had to extend the IR led, the device LED’s, the USB port, and power lines to get it to fit in the box. I also thought it would be much easier to wire up the buttons by using a breadboard, and a button-to-test-point map. This way to configure a button in the box, I just had to look at the map to find out which two test points to plug the arcade buttons into. Another neat trick I discovered was, that if I put an LED inside one of these arcade buttons, it is visible enough to light up the buttons. Since this Harmony remote has 3 device buttons that light up, I was able to transfer this usability design to the arcade buttons.

I was even able to leverage the Wii window in the original design for the IR receiver on the Harmony 200. This way you can still have the “remote” learn codes from other remotes.

While these upgrades made the remote 1000 times better, it still has problems. For one, the wires for the buttons would sometimes fall out of the breadboard, and I’d have instruct people over the phone on how to service it. And for some reason, this remote seems to suffer from the 3 blinking lights, problem more often than I’d like. And the fix is to hold down the number 3 button, while replacing the batteries. And the breadboard design was a lifesaver here, allowing me to add that button to one of the small push buttons leftover from the old design (3 of them and an LED right above the volume up button).

Cell Phone Li-ion battery tester

Li-ion Battery Tester

While working at Macalegin Electronics I discovered that many times we need to verify the charge on a cell phone battery. We have a multimeter but is a little cumbersome to use especially when testing several batteries at once.
So I had the opportunity of designing and building a Li-Ion Battery tester for quick and easy battery charge indication.
It consists of one green LED, one red LED, and adjustable leads.
When the leads come in contact with the battery the LED’s will light up as follows:
Green only – the battery charge is ~80% to 100%
Green & Red – the battery charge is between 0% and ~80%. If the green LED is noticeably brighter than the red LED, then the battery charge is between ~65% and ~80%. If the red LED is noticeably brighter than the green LED, then the battery charge is less than ~10%.

Adjustable Leads
Internal Circuit
Li-Ion Battery Tester – EveryCircuit
[iframe width=”560″ height=”360″ src=”https://everycircuit.com/embed/6522073815973888″][/iframe]
To adjust the input voltage: Select the power source in the top right corner, then select the wrench in the bottom bar. then use the wheel in the right corner to change the voltage.


Pinewood Derby – Propeller powered

A week ago my brother invited me to join him for an Anything Goes pinewood derby race. I have great memories of building these cars with my Dad and wouldn’t pass up an opportunity to relive those moments.
First I designed my car in Sketch-Up, and then built the car from a standard derby kit. (see image below)
The hardest part was building the propeller motor stand. I made that part separately and the glued it into place. Before I could glue it I had to drill holes and feed the wires for the motor through the holes.
Then to power the motor I used an old iPhone 4 battery I had laying around. To make the battery easier to use I soldered a new connector on the battery so I could easily plug it into the car and the battery charger. To finish the simple circuit, I added a switch so I wouldn’t have to disconnect the battery to turn it off.
And finally, to finish things off I added some tungsten weights to a cardboard cover painted to match the car.
I say the finished product always looks better than the sketch.