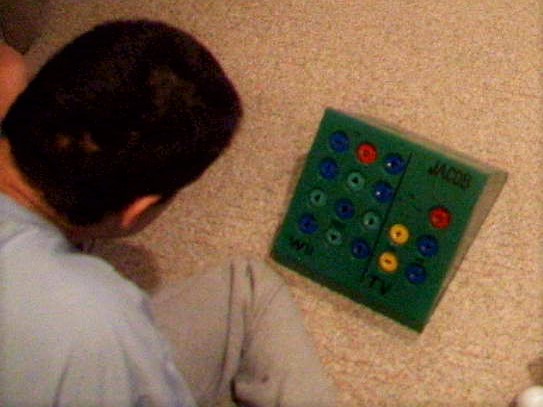
The story behind the box
My brother-in-law, Jake, who happens to be the same age as me, was born with Cerebral palsy, and so has trouble using most everyday things. Even though he can’t speak or walk, he can get around by a sort of crawl and is good at using pictures in a binder to communicate. Though it is a bit of a guessing game.
Because of his situation he spends a lot of time watching TV shows and Movies. Whenever he wanted to watch something, he would have to find his binder, and someone willing to help, then play the guessing game until someone figured out what he wanted to watch. Then we’d have to find the DVD or VHS and put it on for him.
While most of us are willing to help, the whole process felt like it could be improved in some way. In addition to a binder for communicating, he had this tablet he could use called a Dynavox. It was large and old, and had some sort of IR capabilities. So I suggested that I could set it up to control the TV and the accessories. The only problem was that the Dynavox was unbelievably expensive and we were afraid it would be abused if left downstairs by the TV.
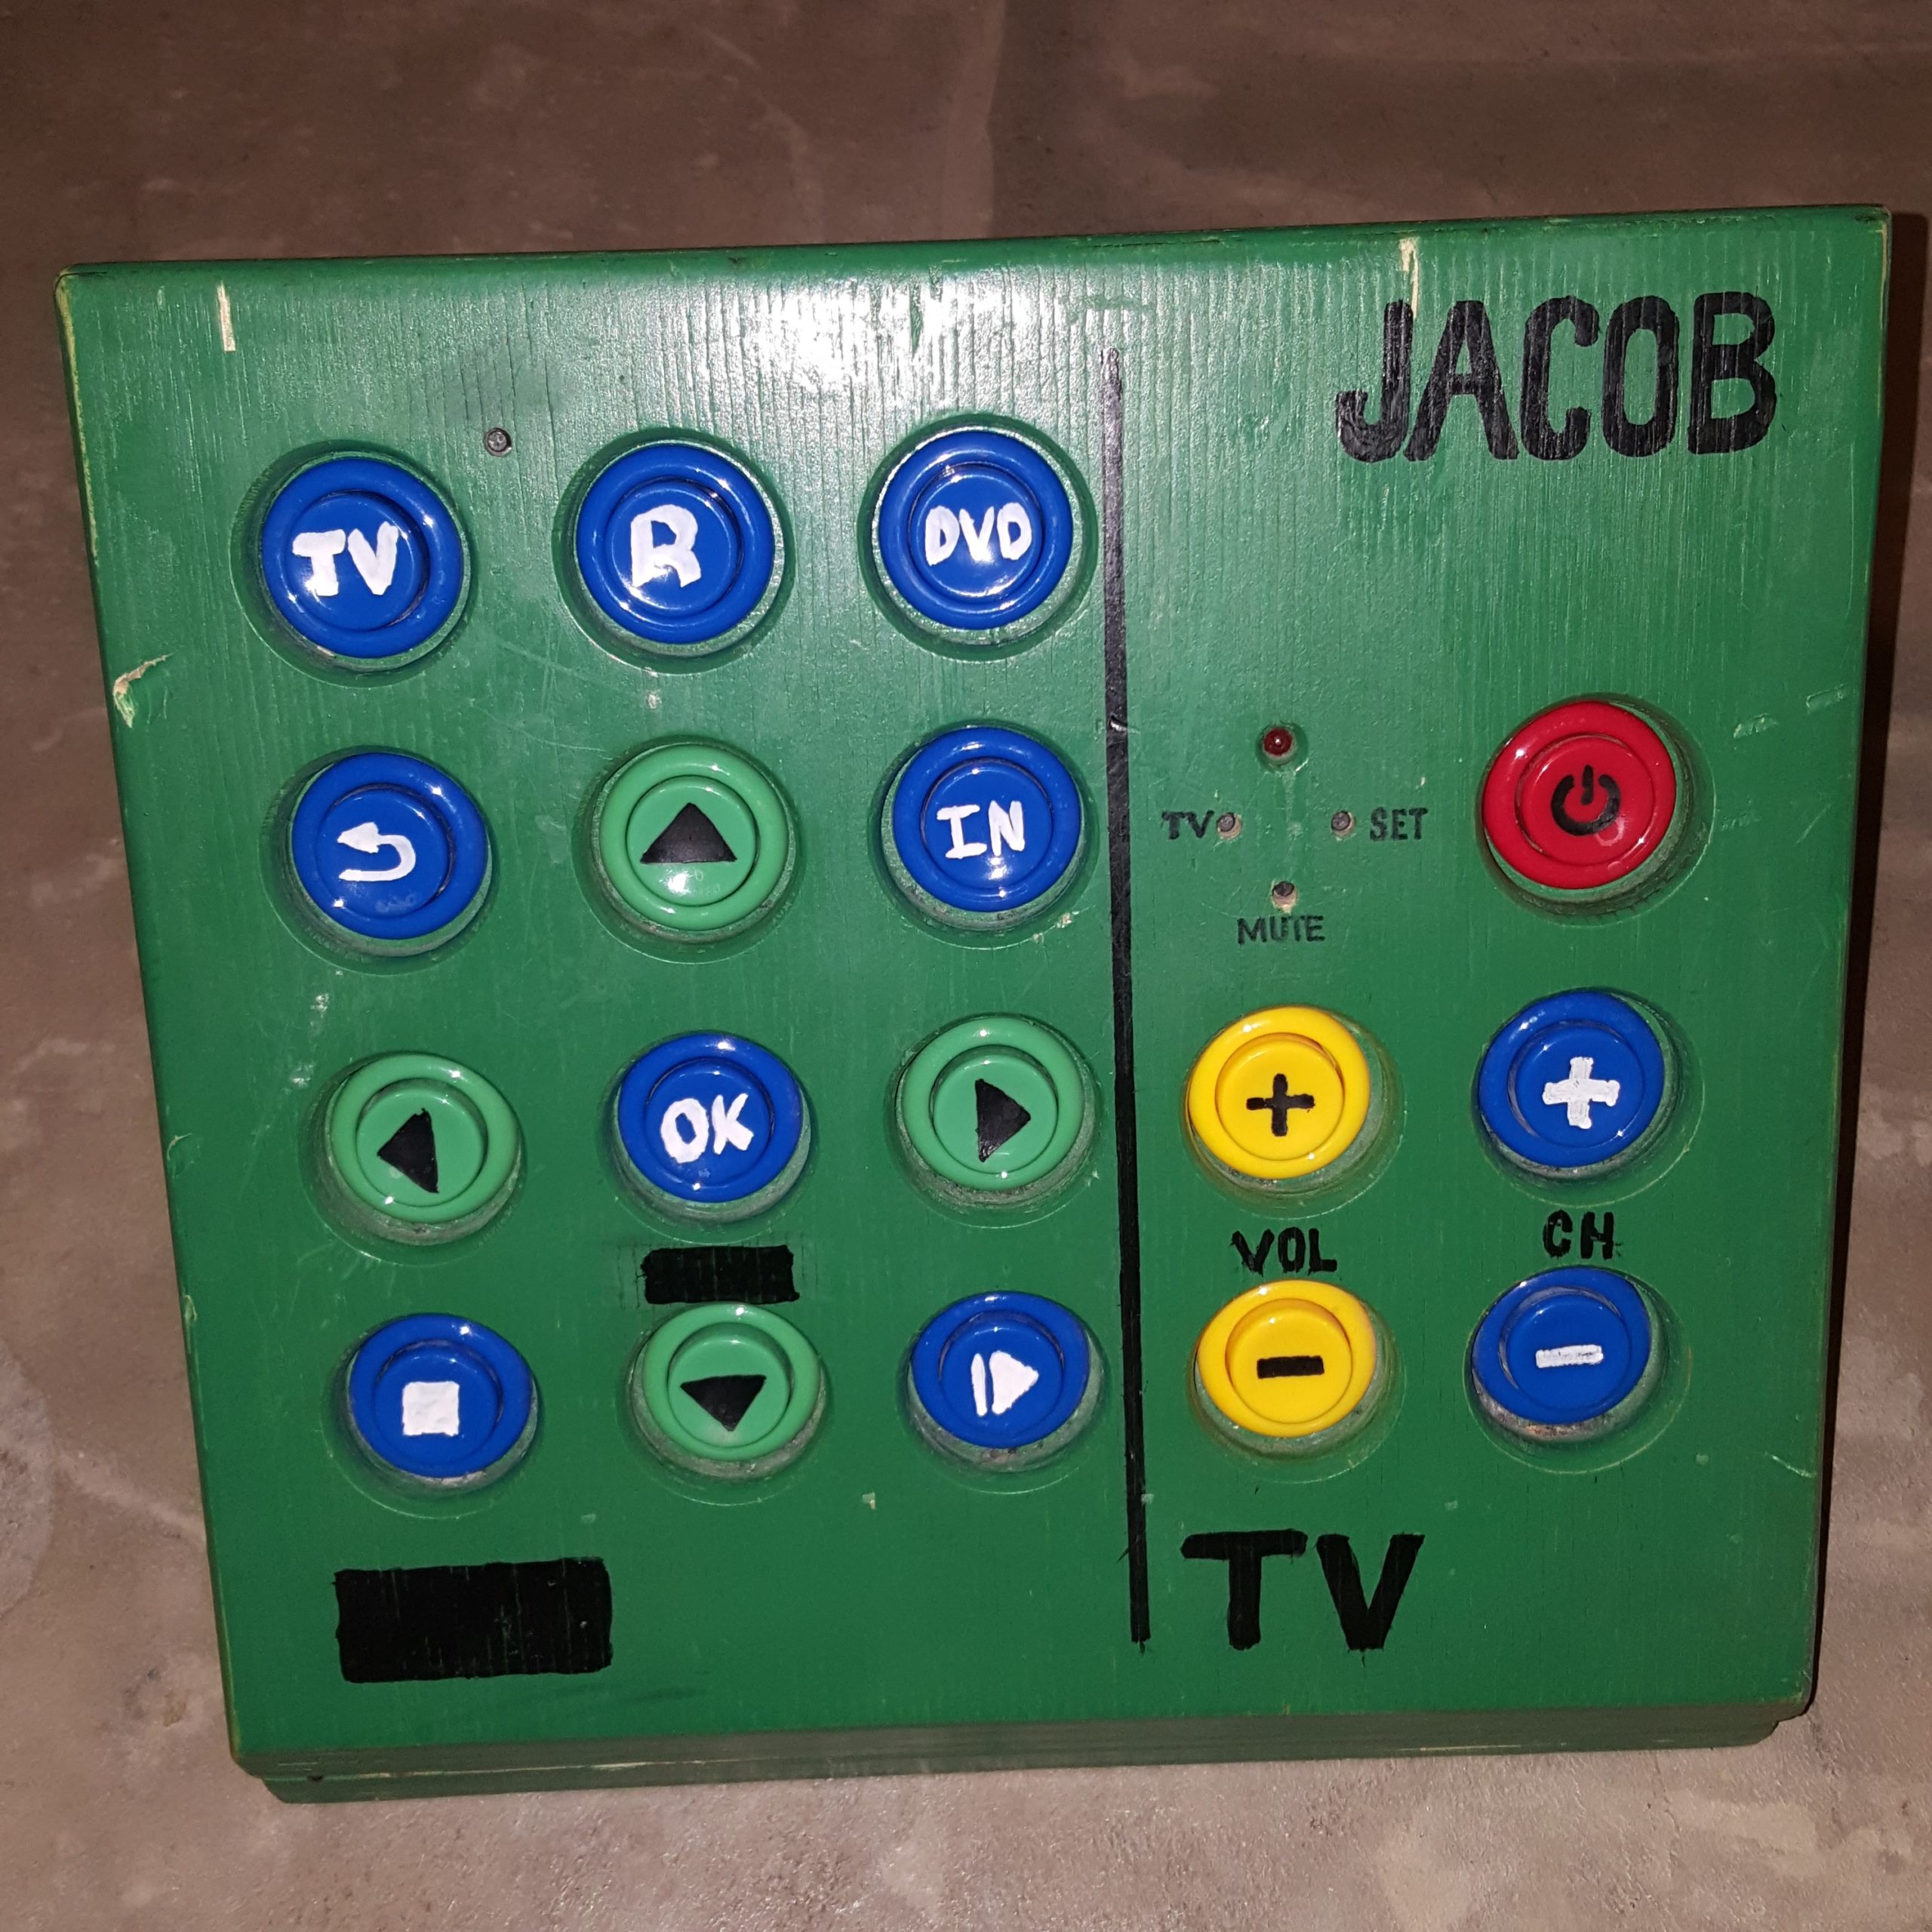
This is when I decided to build him a Megabutton Universal Remote. A simple durable box, that could be dedicated to controlling the entertainment center.
Mark I

Originally, their entertainment system was setup with an OLD CRT tv and a Wii. So my original design included a very simply 6 button universal remote, and a Will controller hacked to use 17 arcade buttons recessed to help prevent accidental button smashing.
The problem with that design was that the remote had to be programmed by pressing the volume and channel buttons in a proper sequence. Which was hard to remember. The problem was made worse by the fact that every time the batteries fell out, which happened more often when the battery door was lost, the remote would “forget” it’s program. Even after I put a different off the shelf universal remote, that was to remember it’s program between battery changes. The other problem was that there were limited things he could do on the Wii, and eventually the Wii controller I hacked, died.
Mark II
In the mean time I had discovered Plex, a self hosted media server that you could give access to friends and family, and had built up decent library of films me and my family owned.
When I showed my Plex media collection to my brother-in-law, he was so excited and sent me home with a box of movies to add to the collection. And he pointed out that the green box that he once loved and used so much, doesn’t work anymore with their upgraded entertainment center. It was time for a makeover.
In this new design I wanted to eliminate the most annoying problems he had with the old universal remote. Namely, settings being lost during a battery change, and tedious programming. Also I had to do something about that Wii controller.
This is when I decided to see if it may be possible to use a LG Harmony remote as the brains. I had a couple Harmony 200 remotes that I’ve used, and decided to open one up to see what I could find. One neat design I discovered on this remote is that it had bare copper test points for each trace on the button matrix. I was able to use these point to solder wires to the remote, since it is extremely difficult to solder wires right onto the button pad.

I also had to extend the IR led, the device LED’s, the USB port, and power lines to get it to fit in the box. I also thought it would be much easier to wire up the buttons by using a breadboard, and a button-to-test-point map. This way to configure a button in the box, I just had to look at the map to find out which two test points to plug the arcade buttons into. Another neat trick I discovered was, that if I put an LED inside one of these arcade buttons, it is visible enough to light up the buttons. Since this Harmony remote has 3 device buttons that light up, I was able to transfer this usability design to the arcade buttons.

I was even able to leverage the Wii window in the original design for the IR receiver on the Harmony 200. This way you can still have the “remote” learn codes from other remotes.

While these upgrades made the remote 1000 times better, it still has problems. For one, the wires for the buttons would sometimes fall out of the breadboard, and I’d have instruct people over the phone on how to service it. And for some reason, this remote seems to suffer from the 3 blinking lights, problem more often than I’d like. And the fix is to hold down the number 3 button, while replacing the batteries. And the breadboard design was a lifesaver here, allowing me to add that button to one of the small push buttons leftover from the old design (3 of them and an LED right above the volume up button).
