Power Wheels Hacks
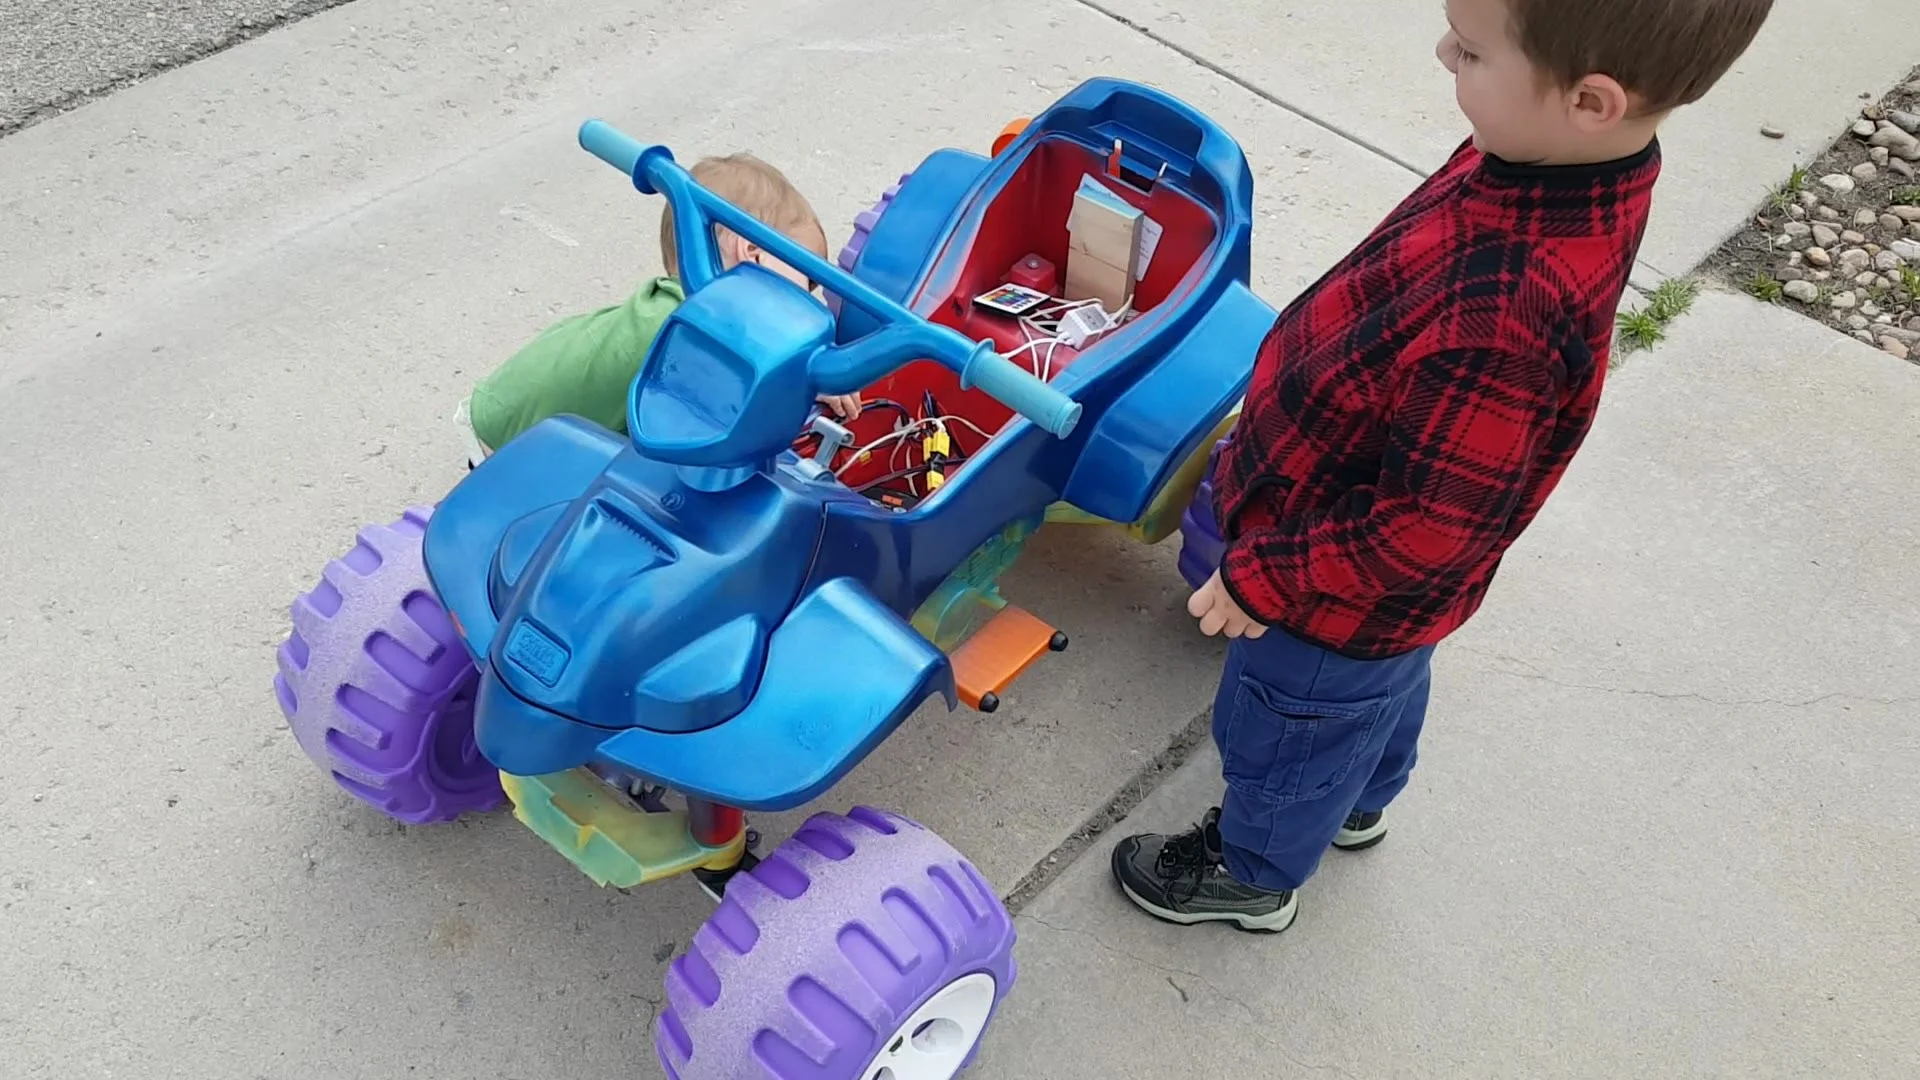
We inherited this Power Wheels ATV from a dear family that moved out of state. It needed some “fixing” before we could have some fun with it. These are the things I’ve done to it since we got it.
New Battery
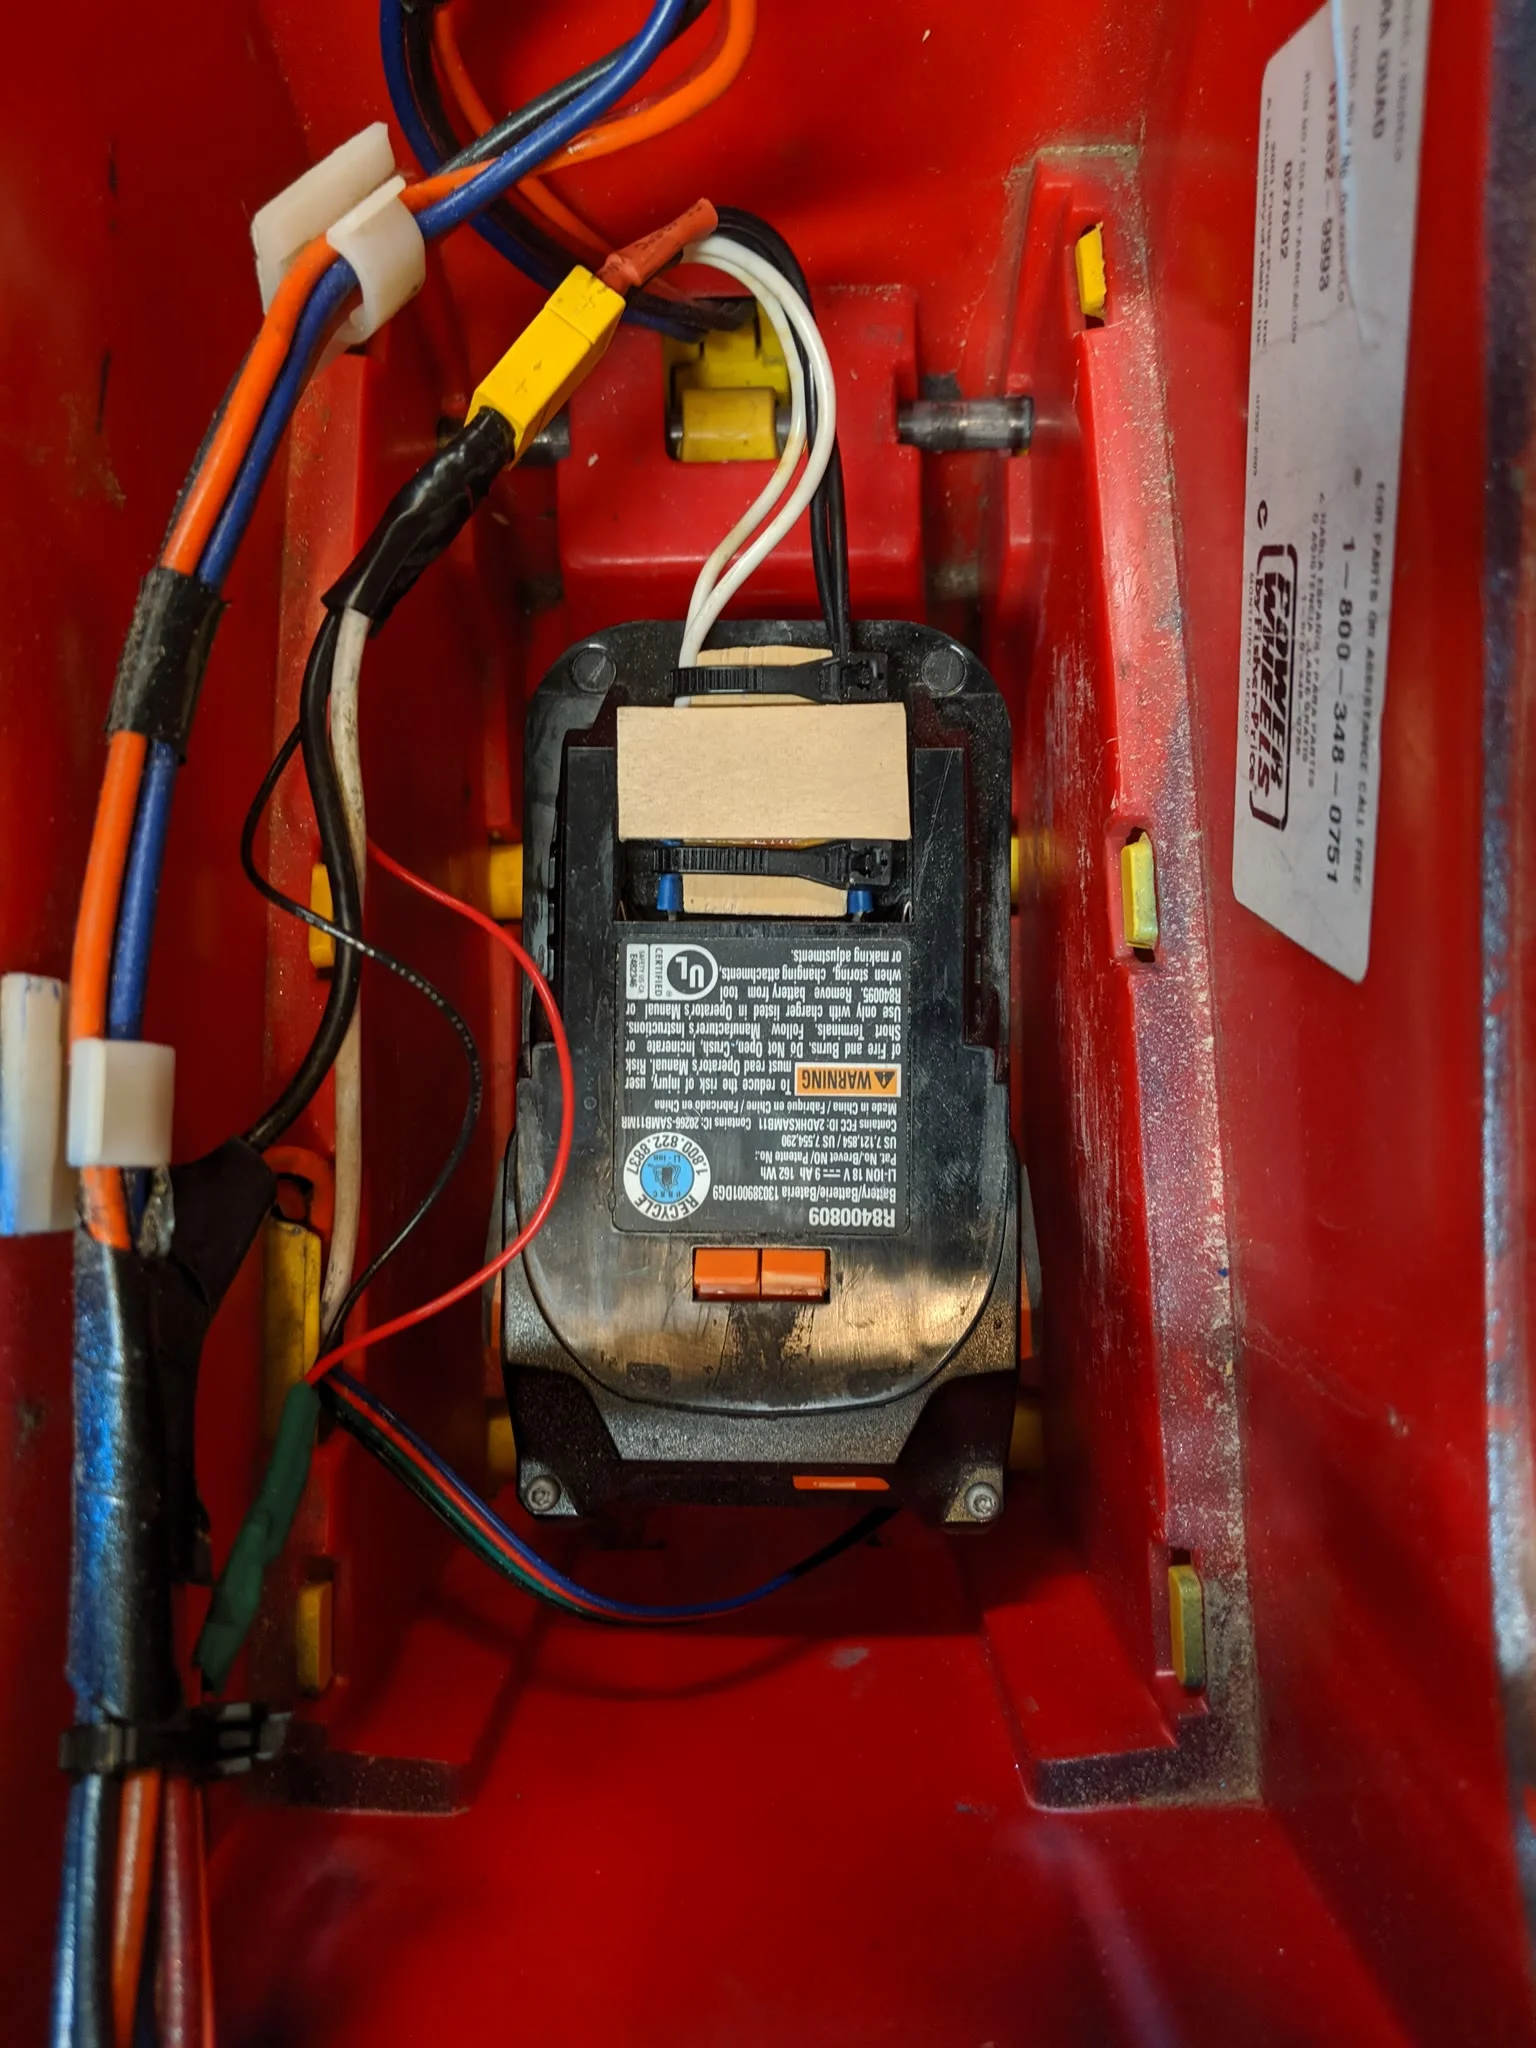
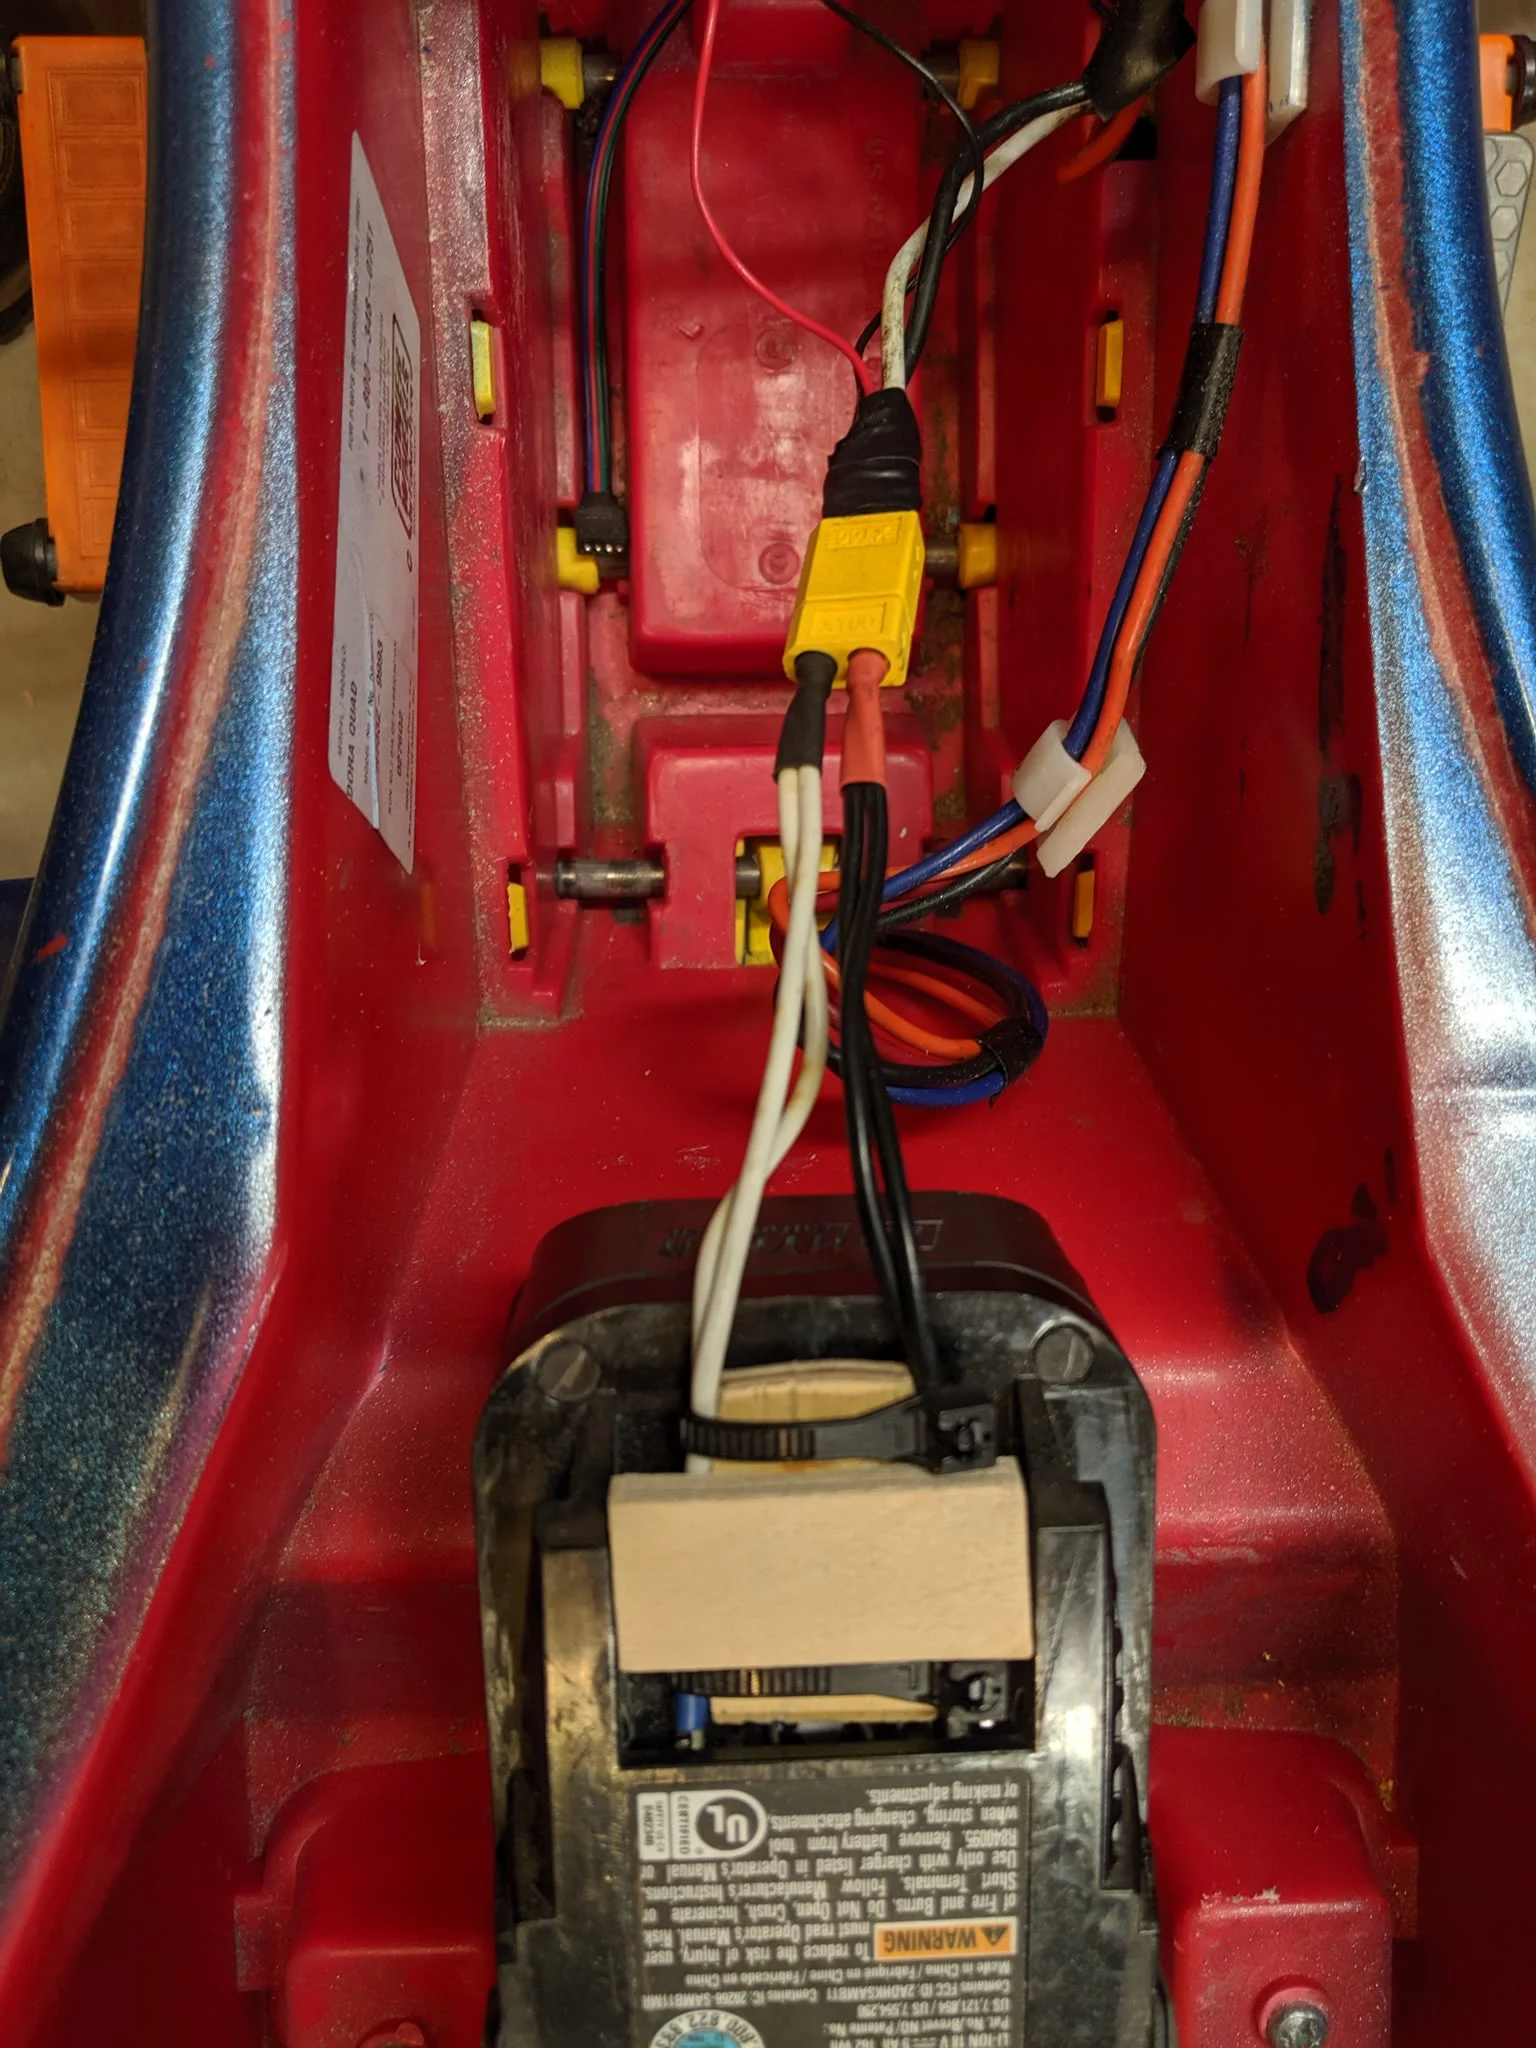
The original battery had long since died, and my 18 V cordless drill batteries were the only ones I had that were remotely powerful enough to make it move. Sure, the voltage is a bit higher than the 12 V ATV is designed to run on, but now it goes faster! Also, I’ve been running it on 18 V for three years now, and it still runs great. As you can see in the photos, I used a standard RC battery plug. Then I created a battery adapter with spade wire terminals. I used bits of wood to maintain the right spacing between the terminals for battery connection and removal.
Bike Trailer Hitch
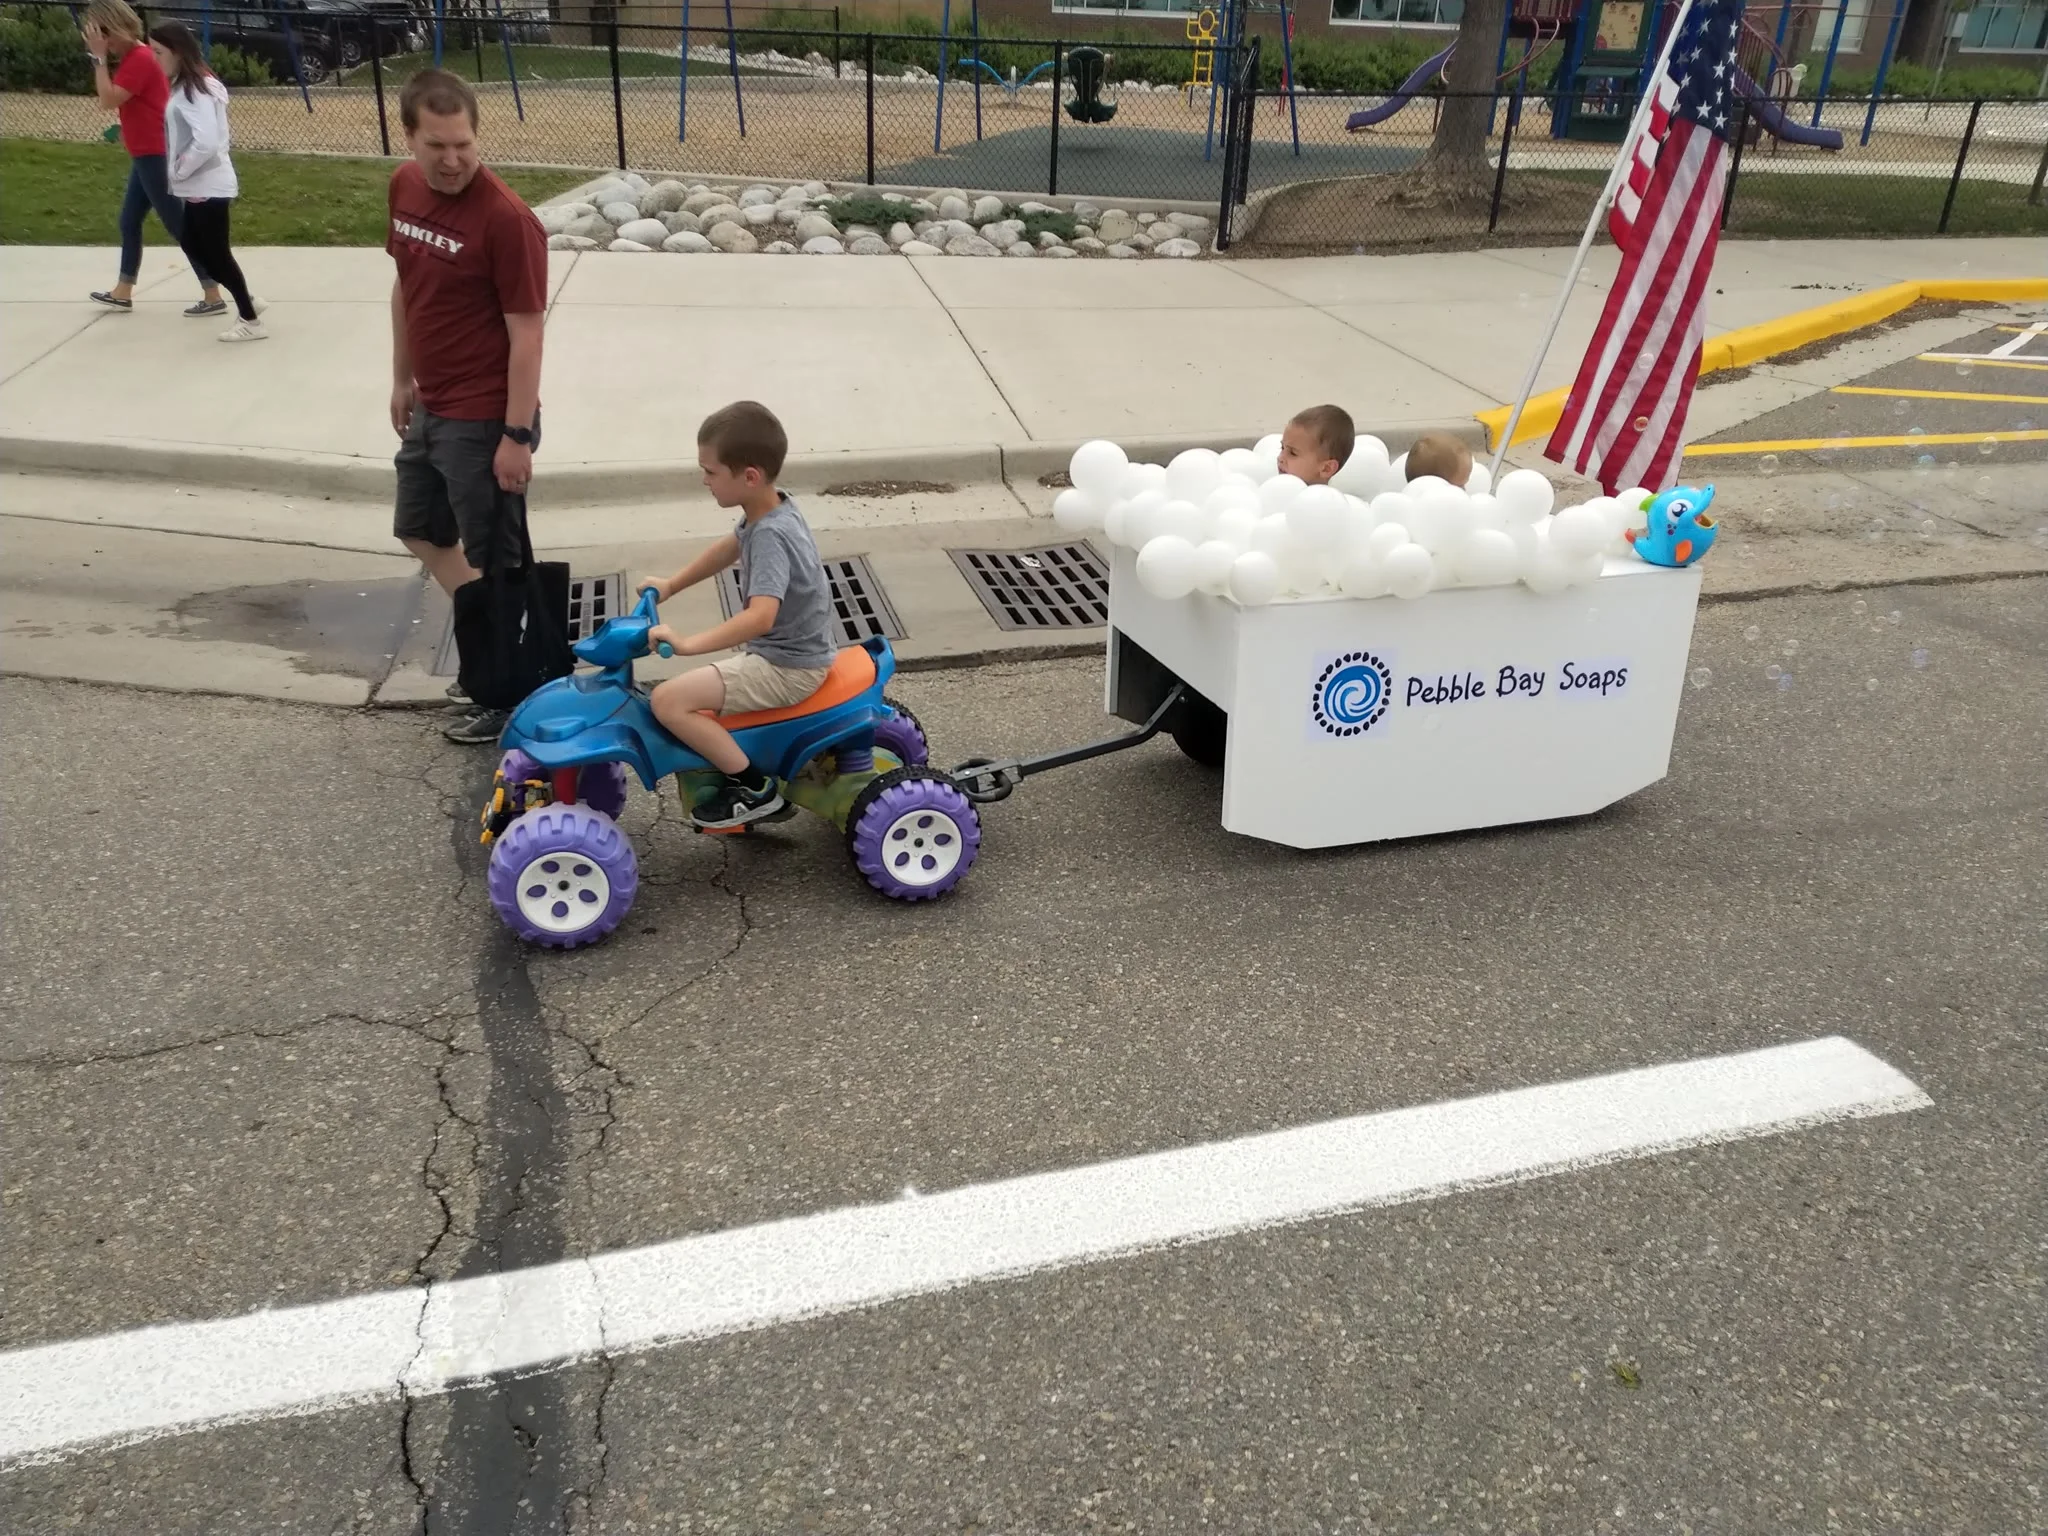
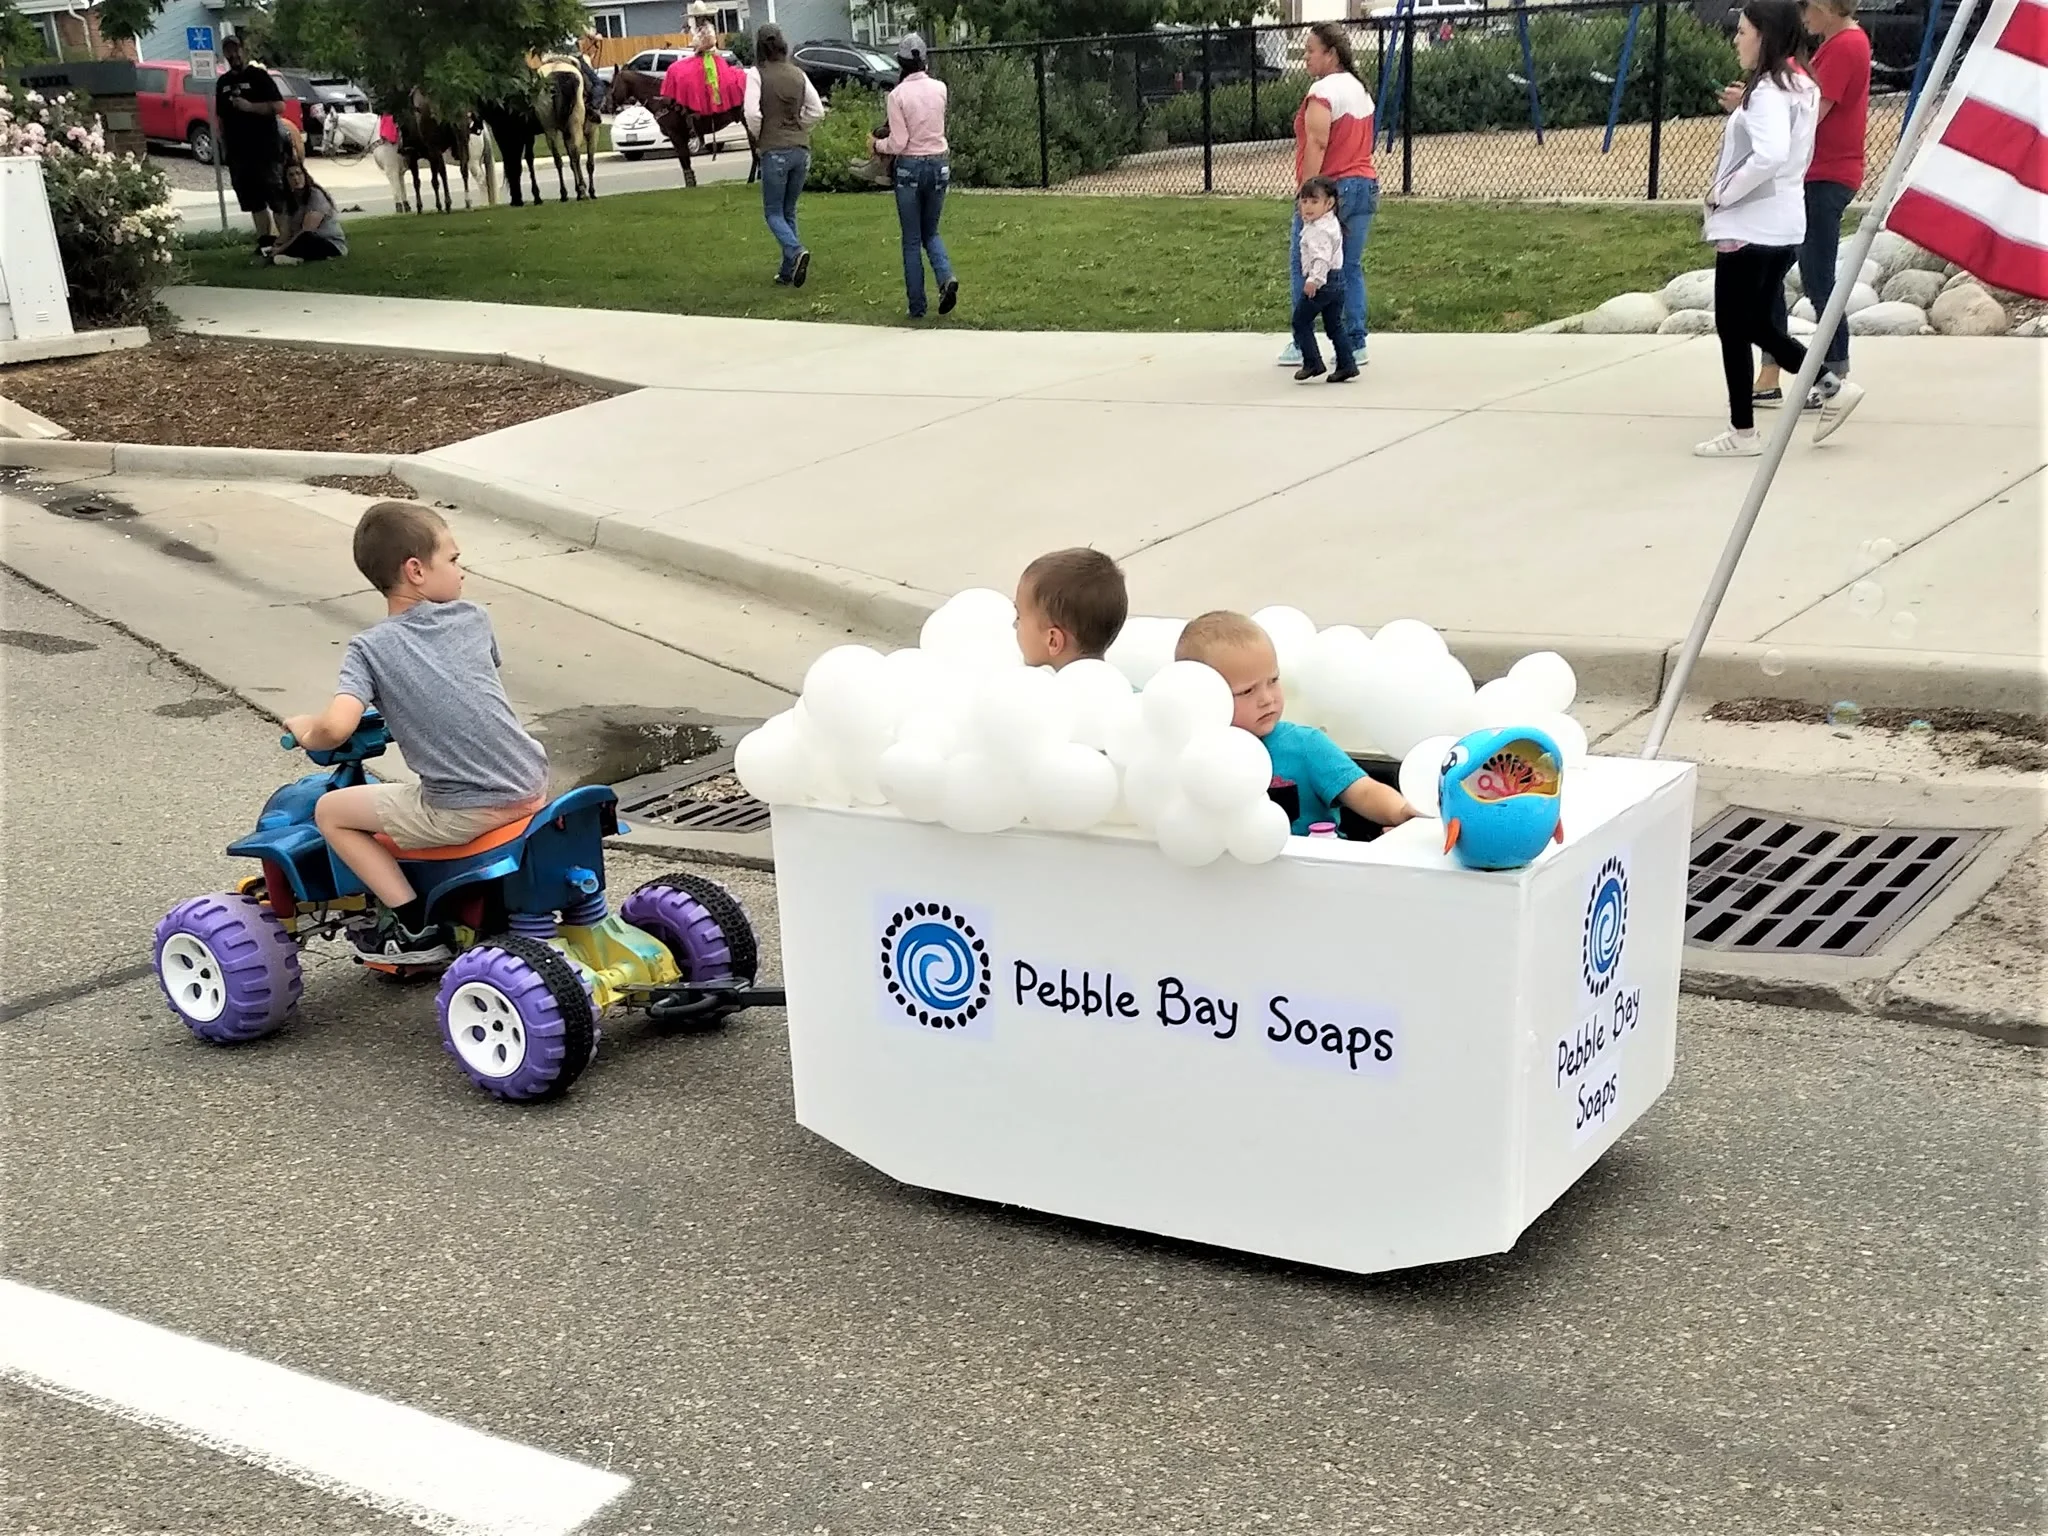
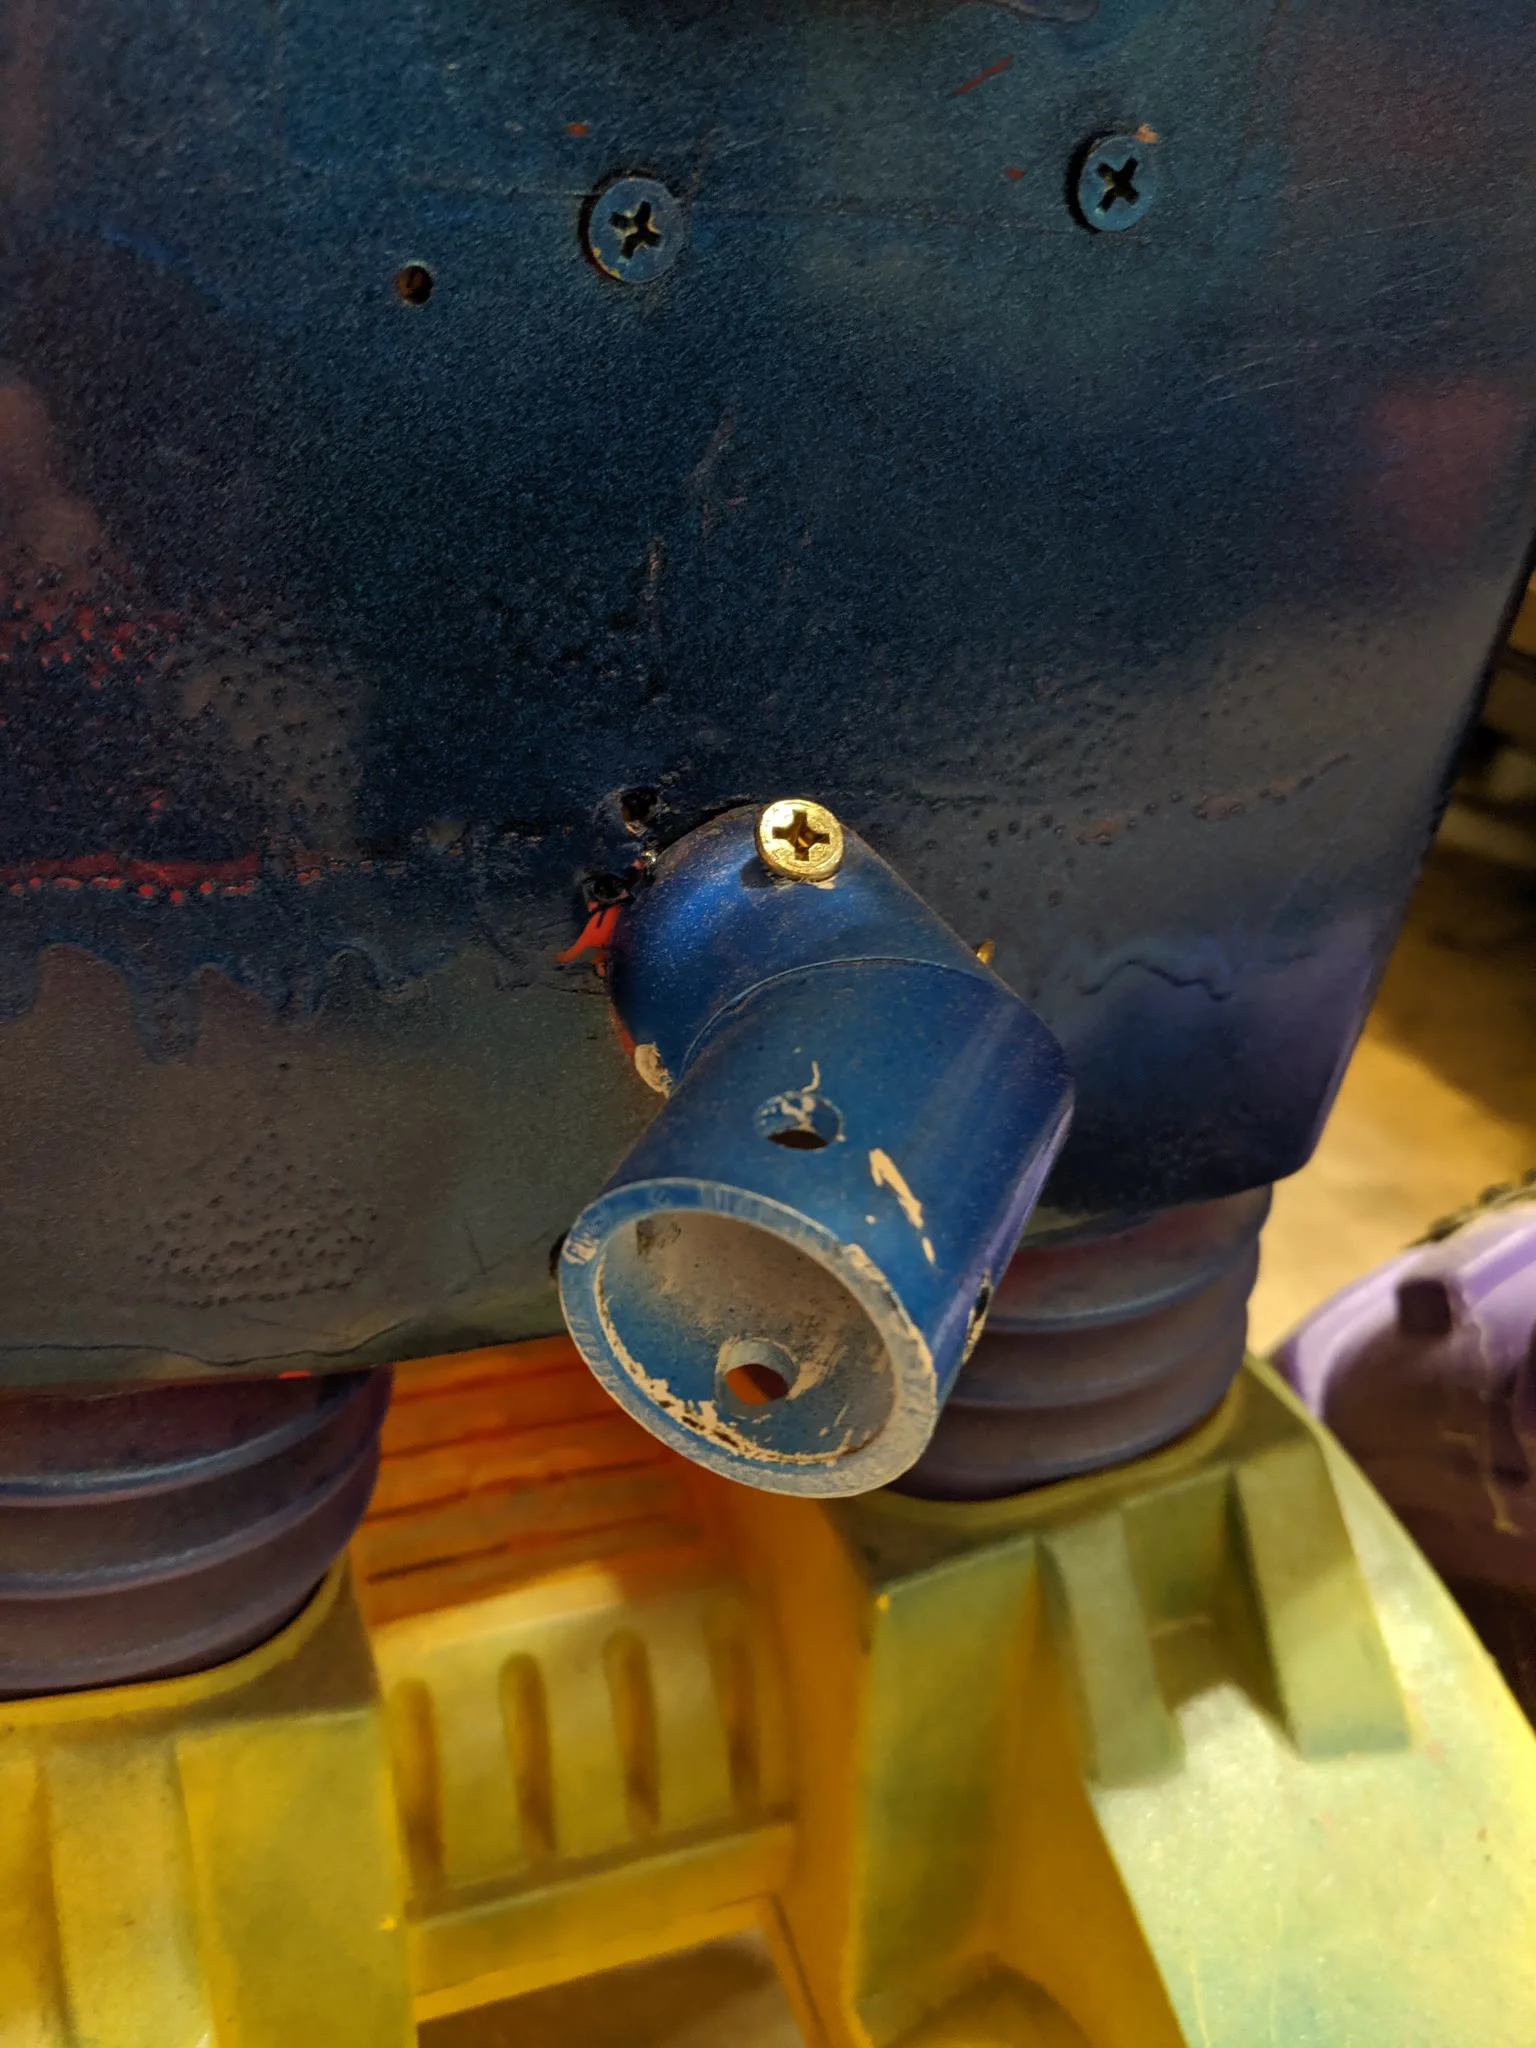
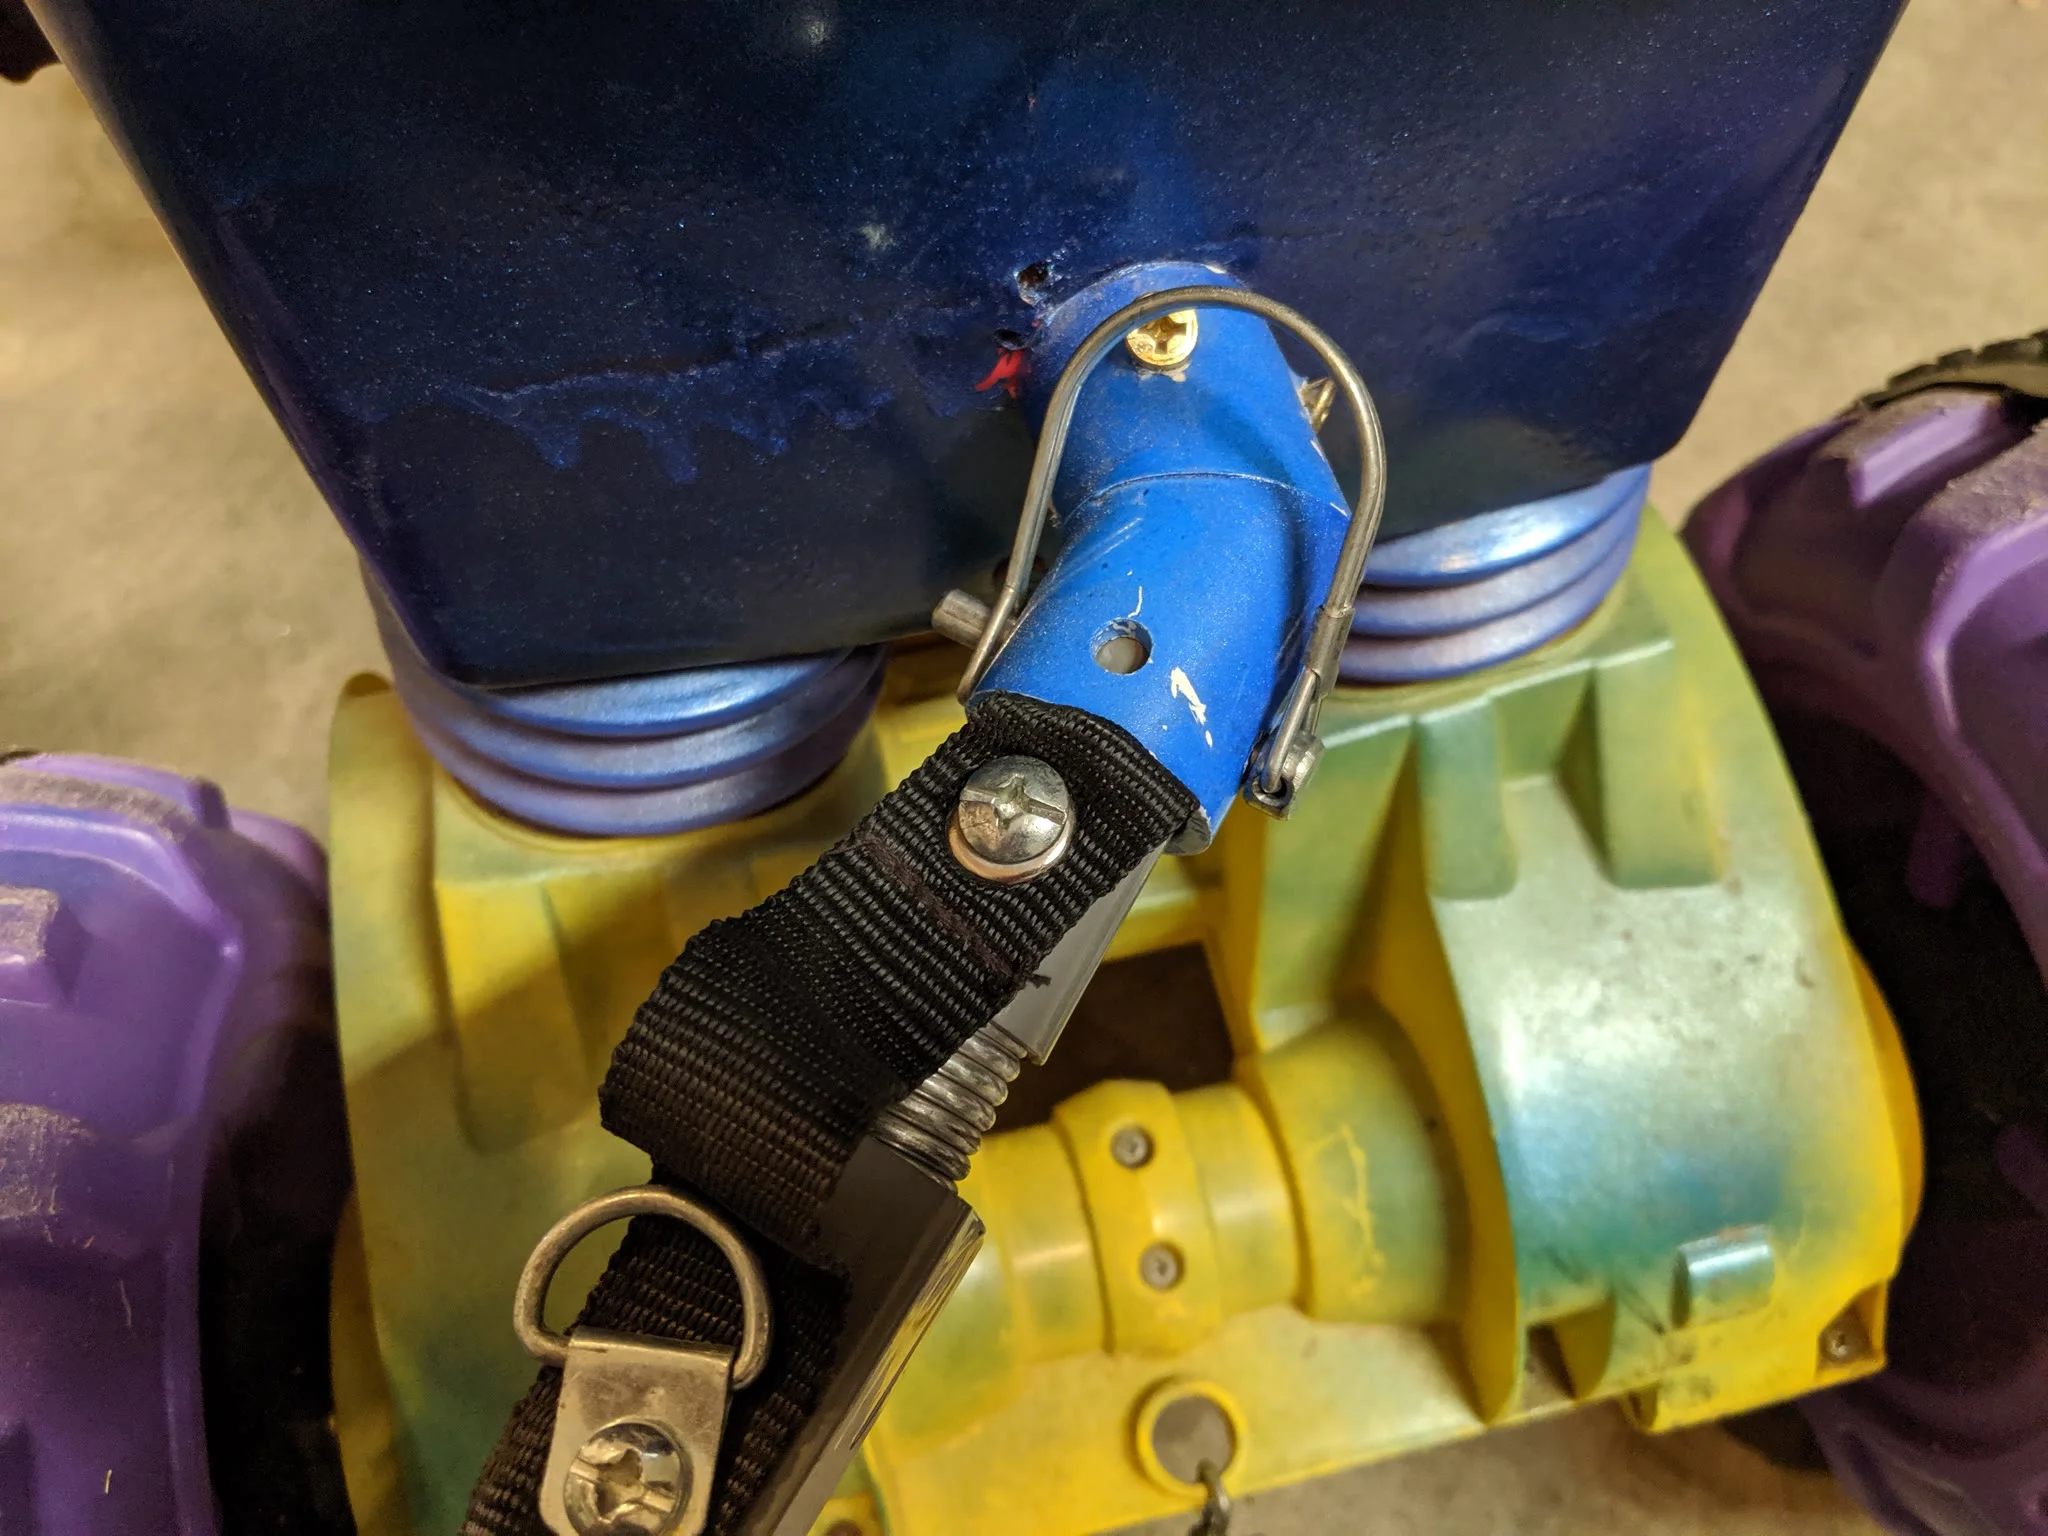
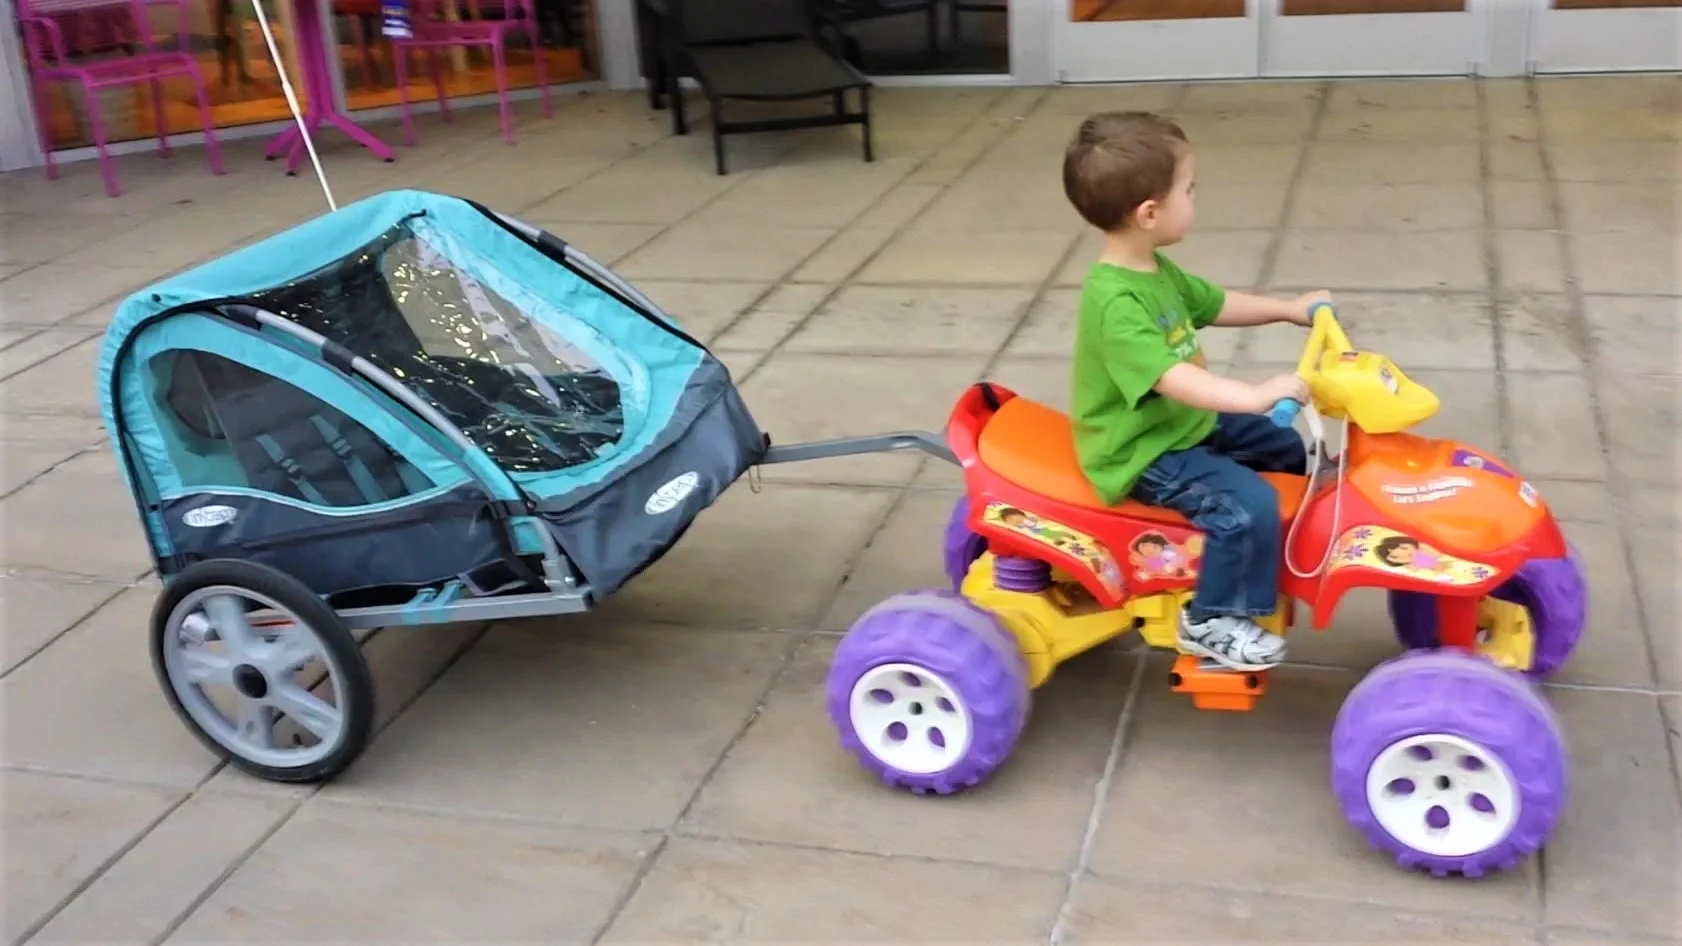
The problem with having siblings is that you need to share. So I thought they could all have fun together if they could pull each other around, and I came up with this trailer hitch. Get a 3/4-inch, 45-degree PVC elbow and drill a hole clear through one side for the trailer cotter pin. Then place a piece of scrap 2x4 on the inside of the battery bay and put at least three screws through the PVC elbow and the body into the 2x4.
Painted it Metallic Blue
RGB Undercarriage Lights
I simply added some 12 V RGB LED strips to the undercarriage of the Power Wheels, along with the controller that came with them. The LEDs were able to operate just fine at 18 V using their IR controller. They also add visibility at night.
Unfortunately, the LED strips eventually fell off even after I glued them down.
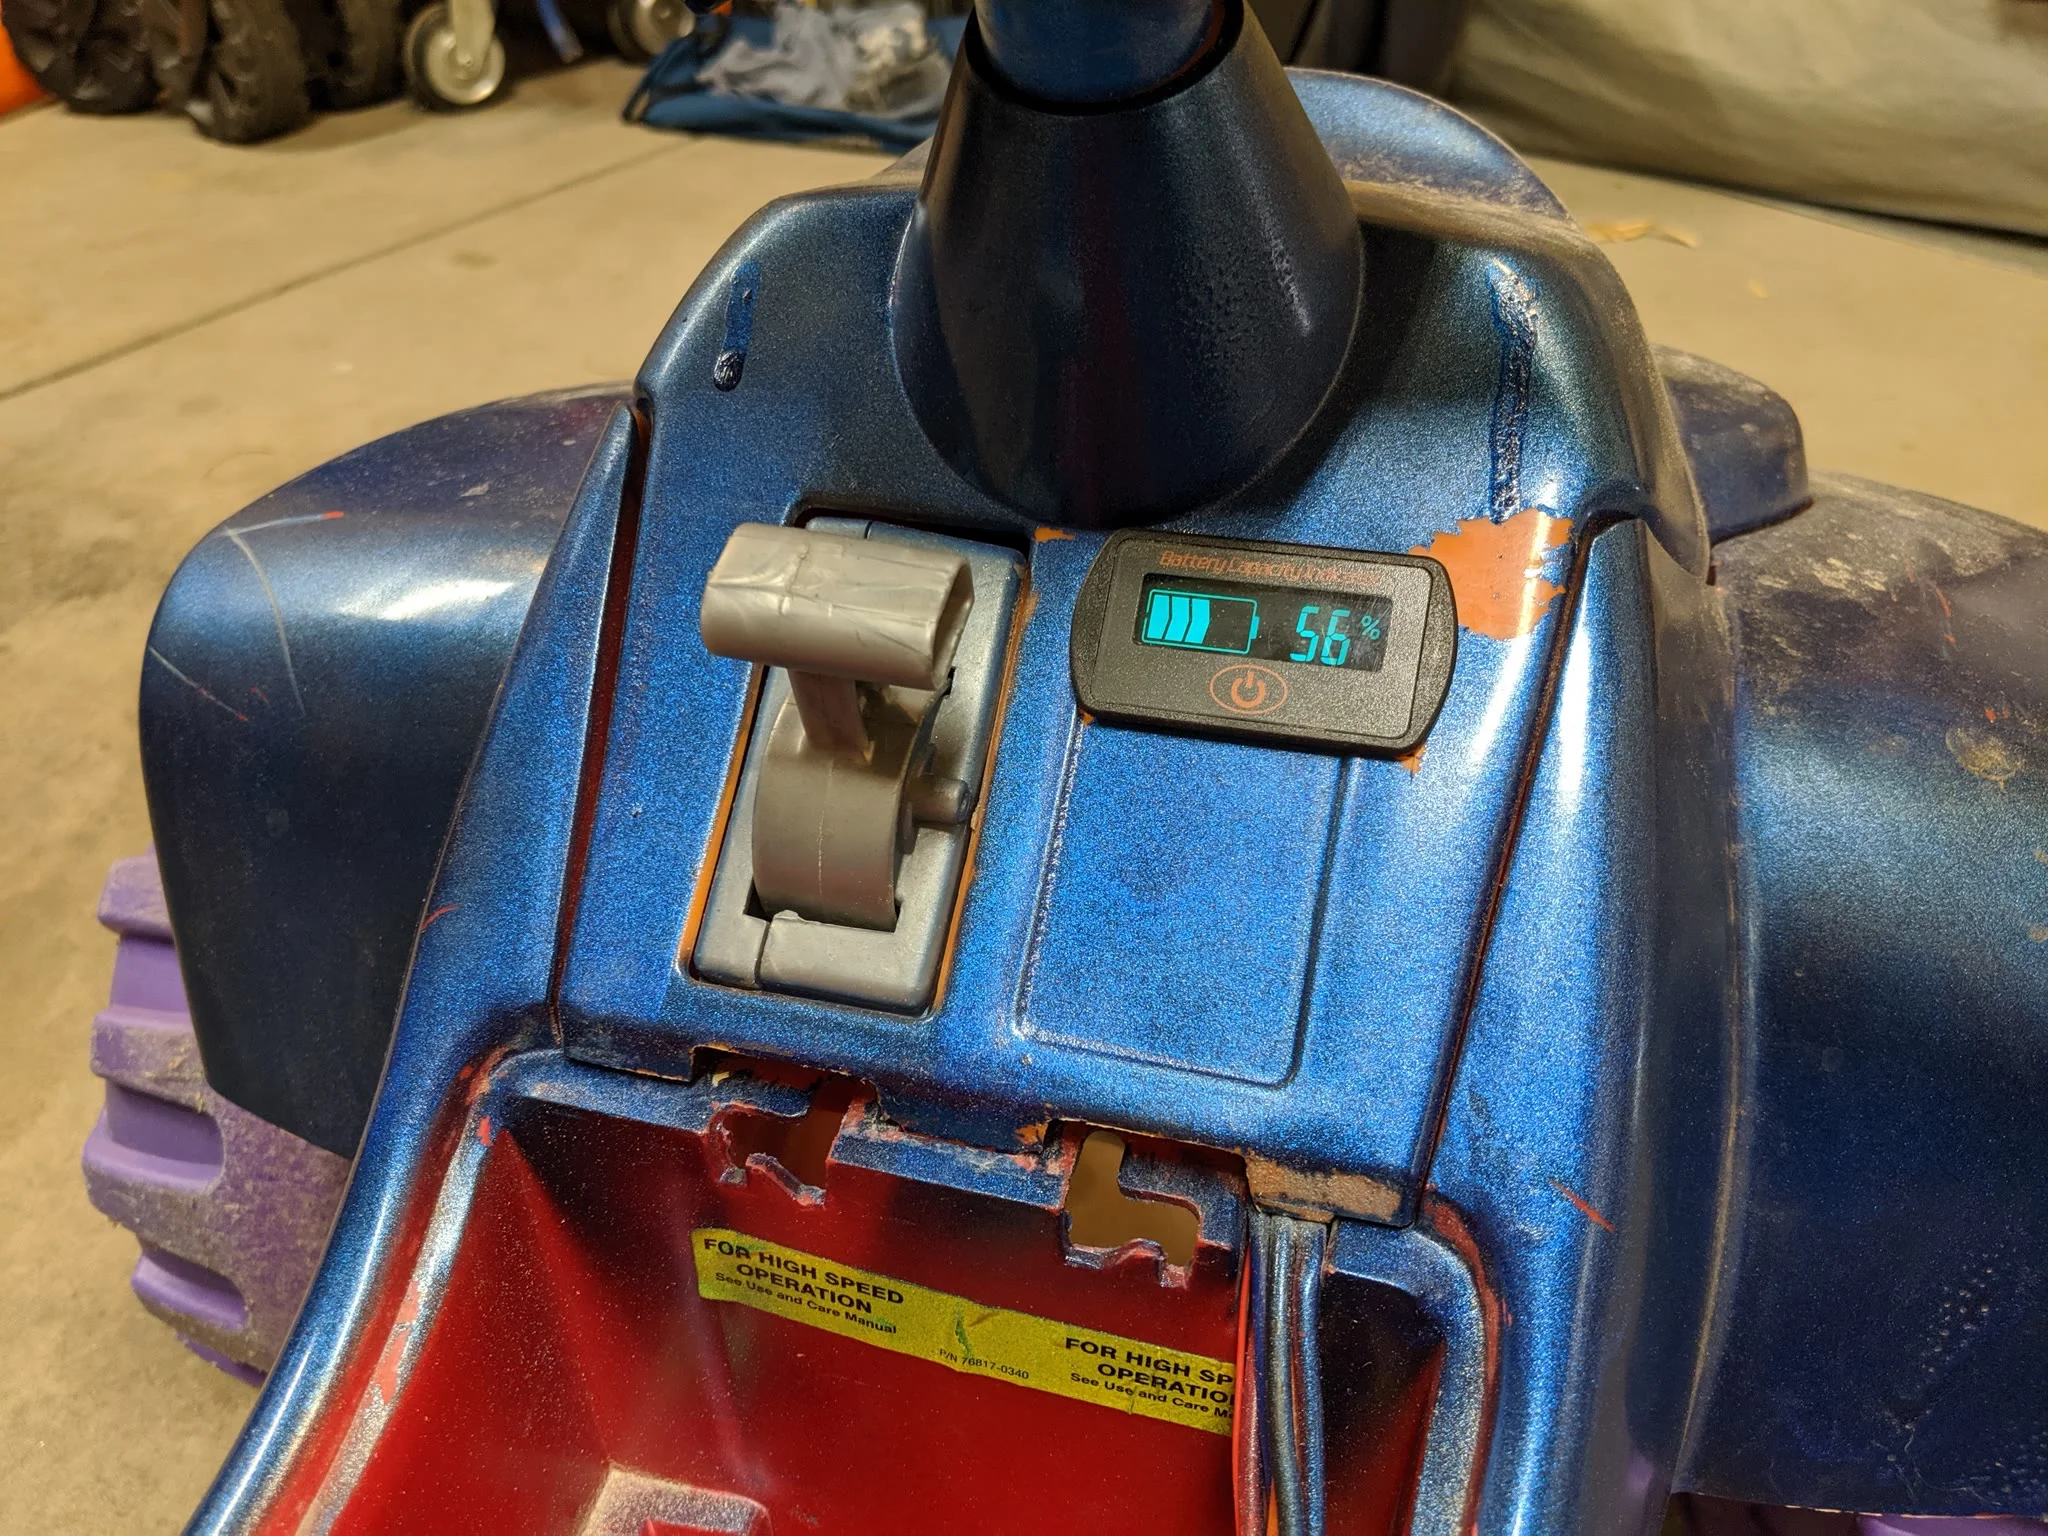
Battery Level Indicator
New Treads
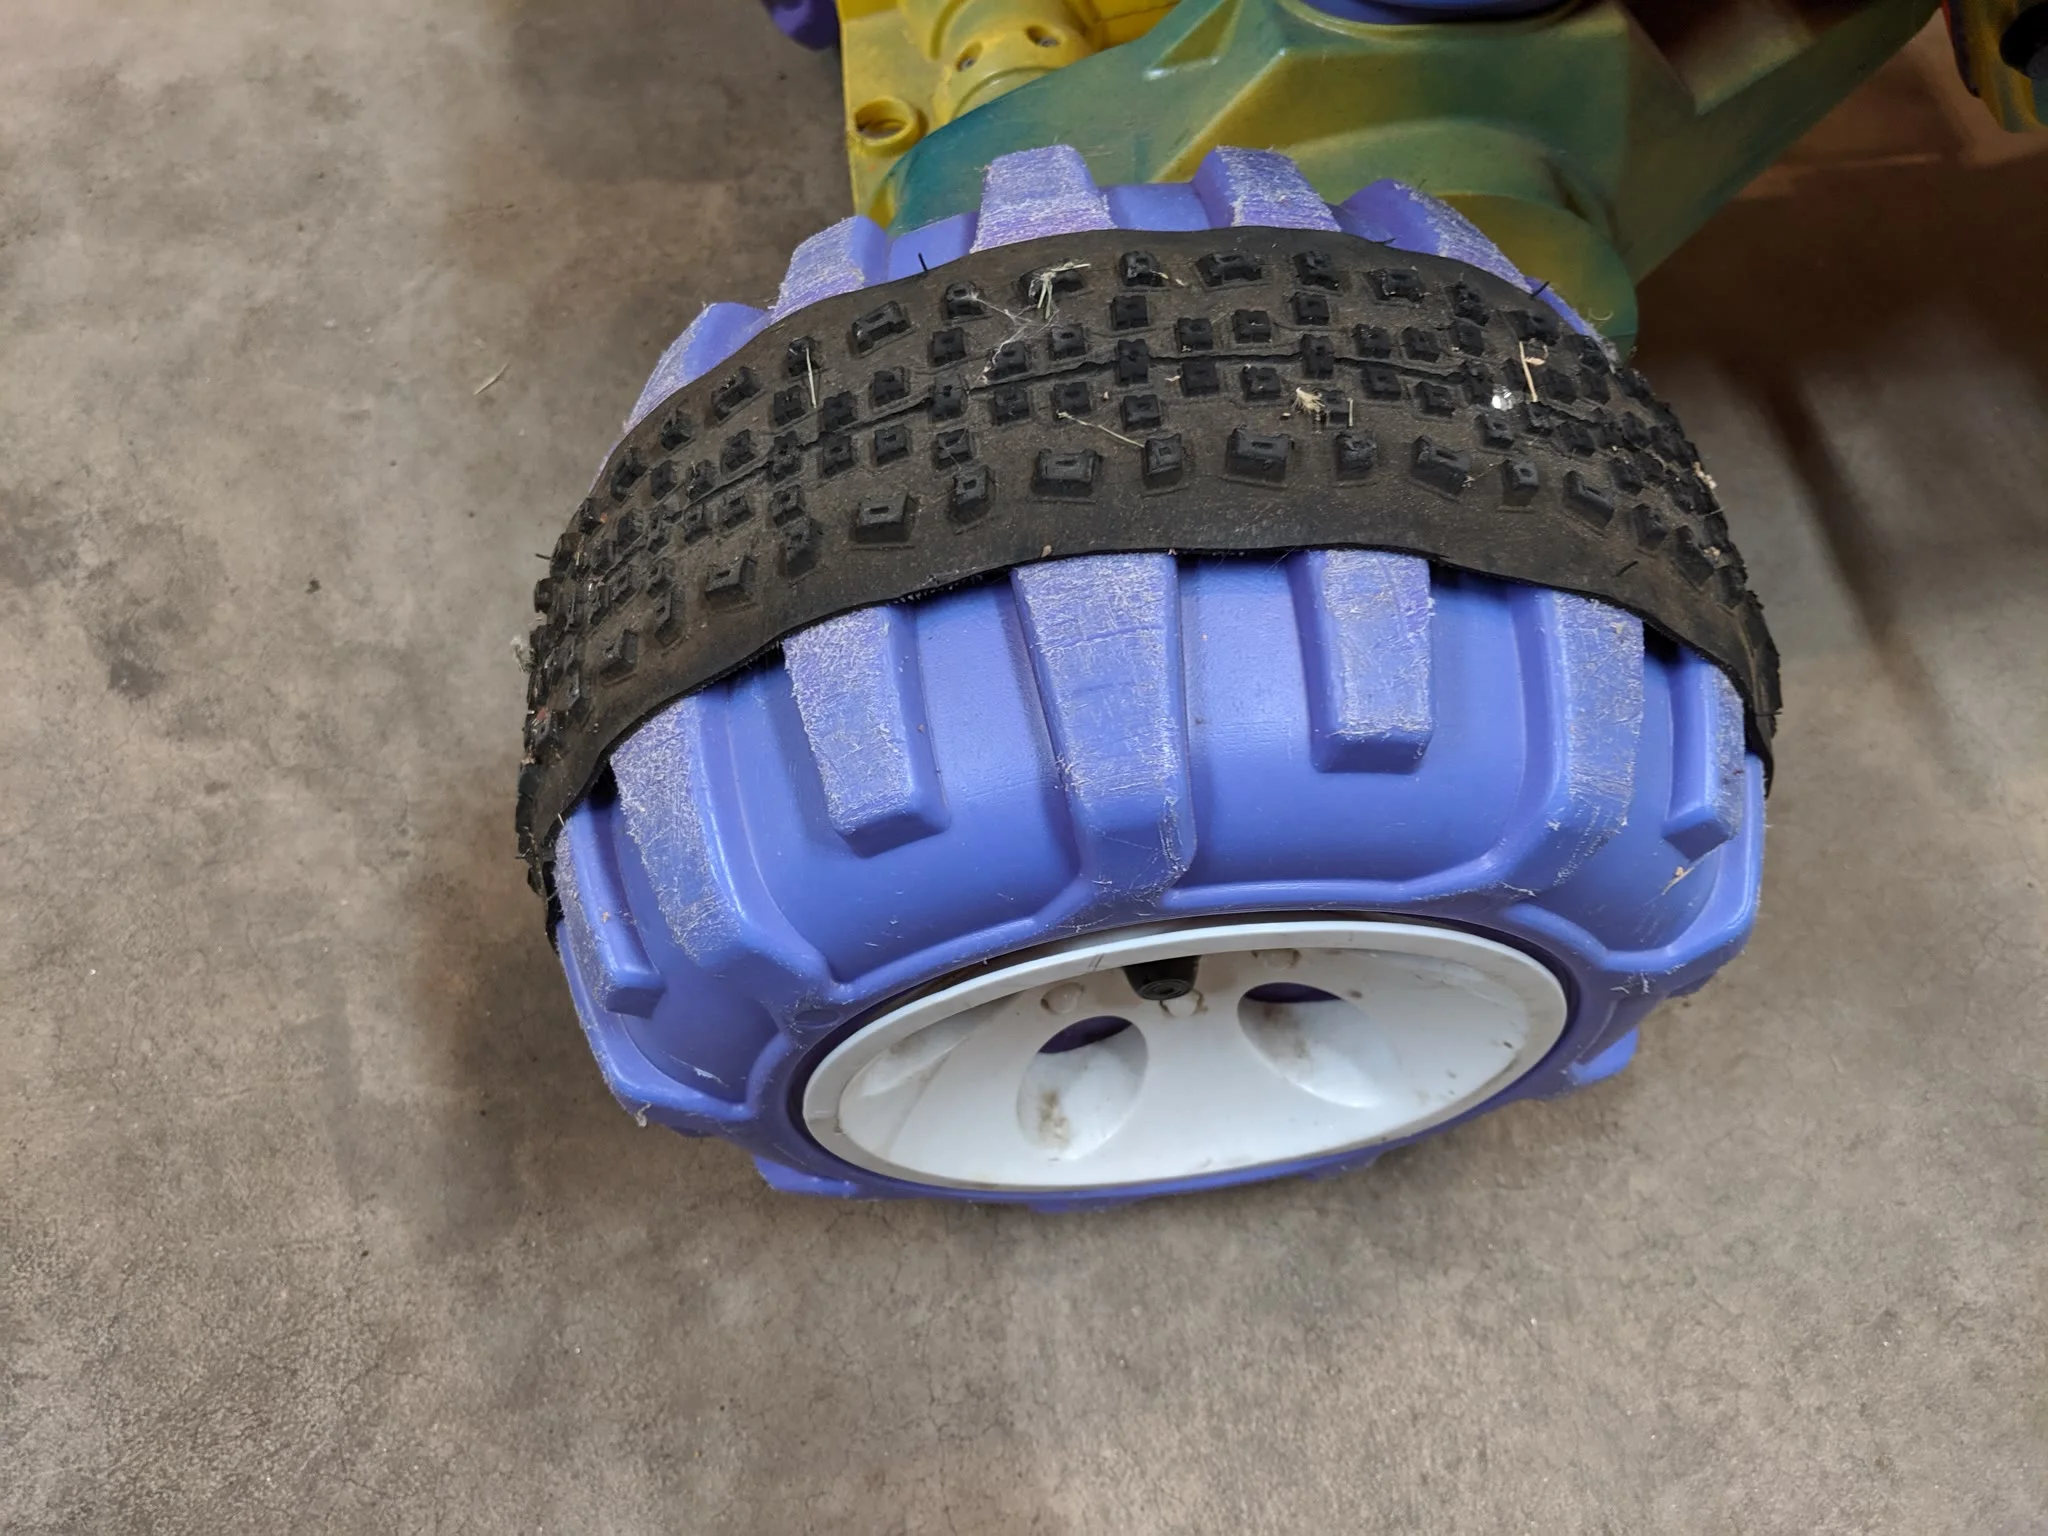
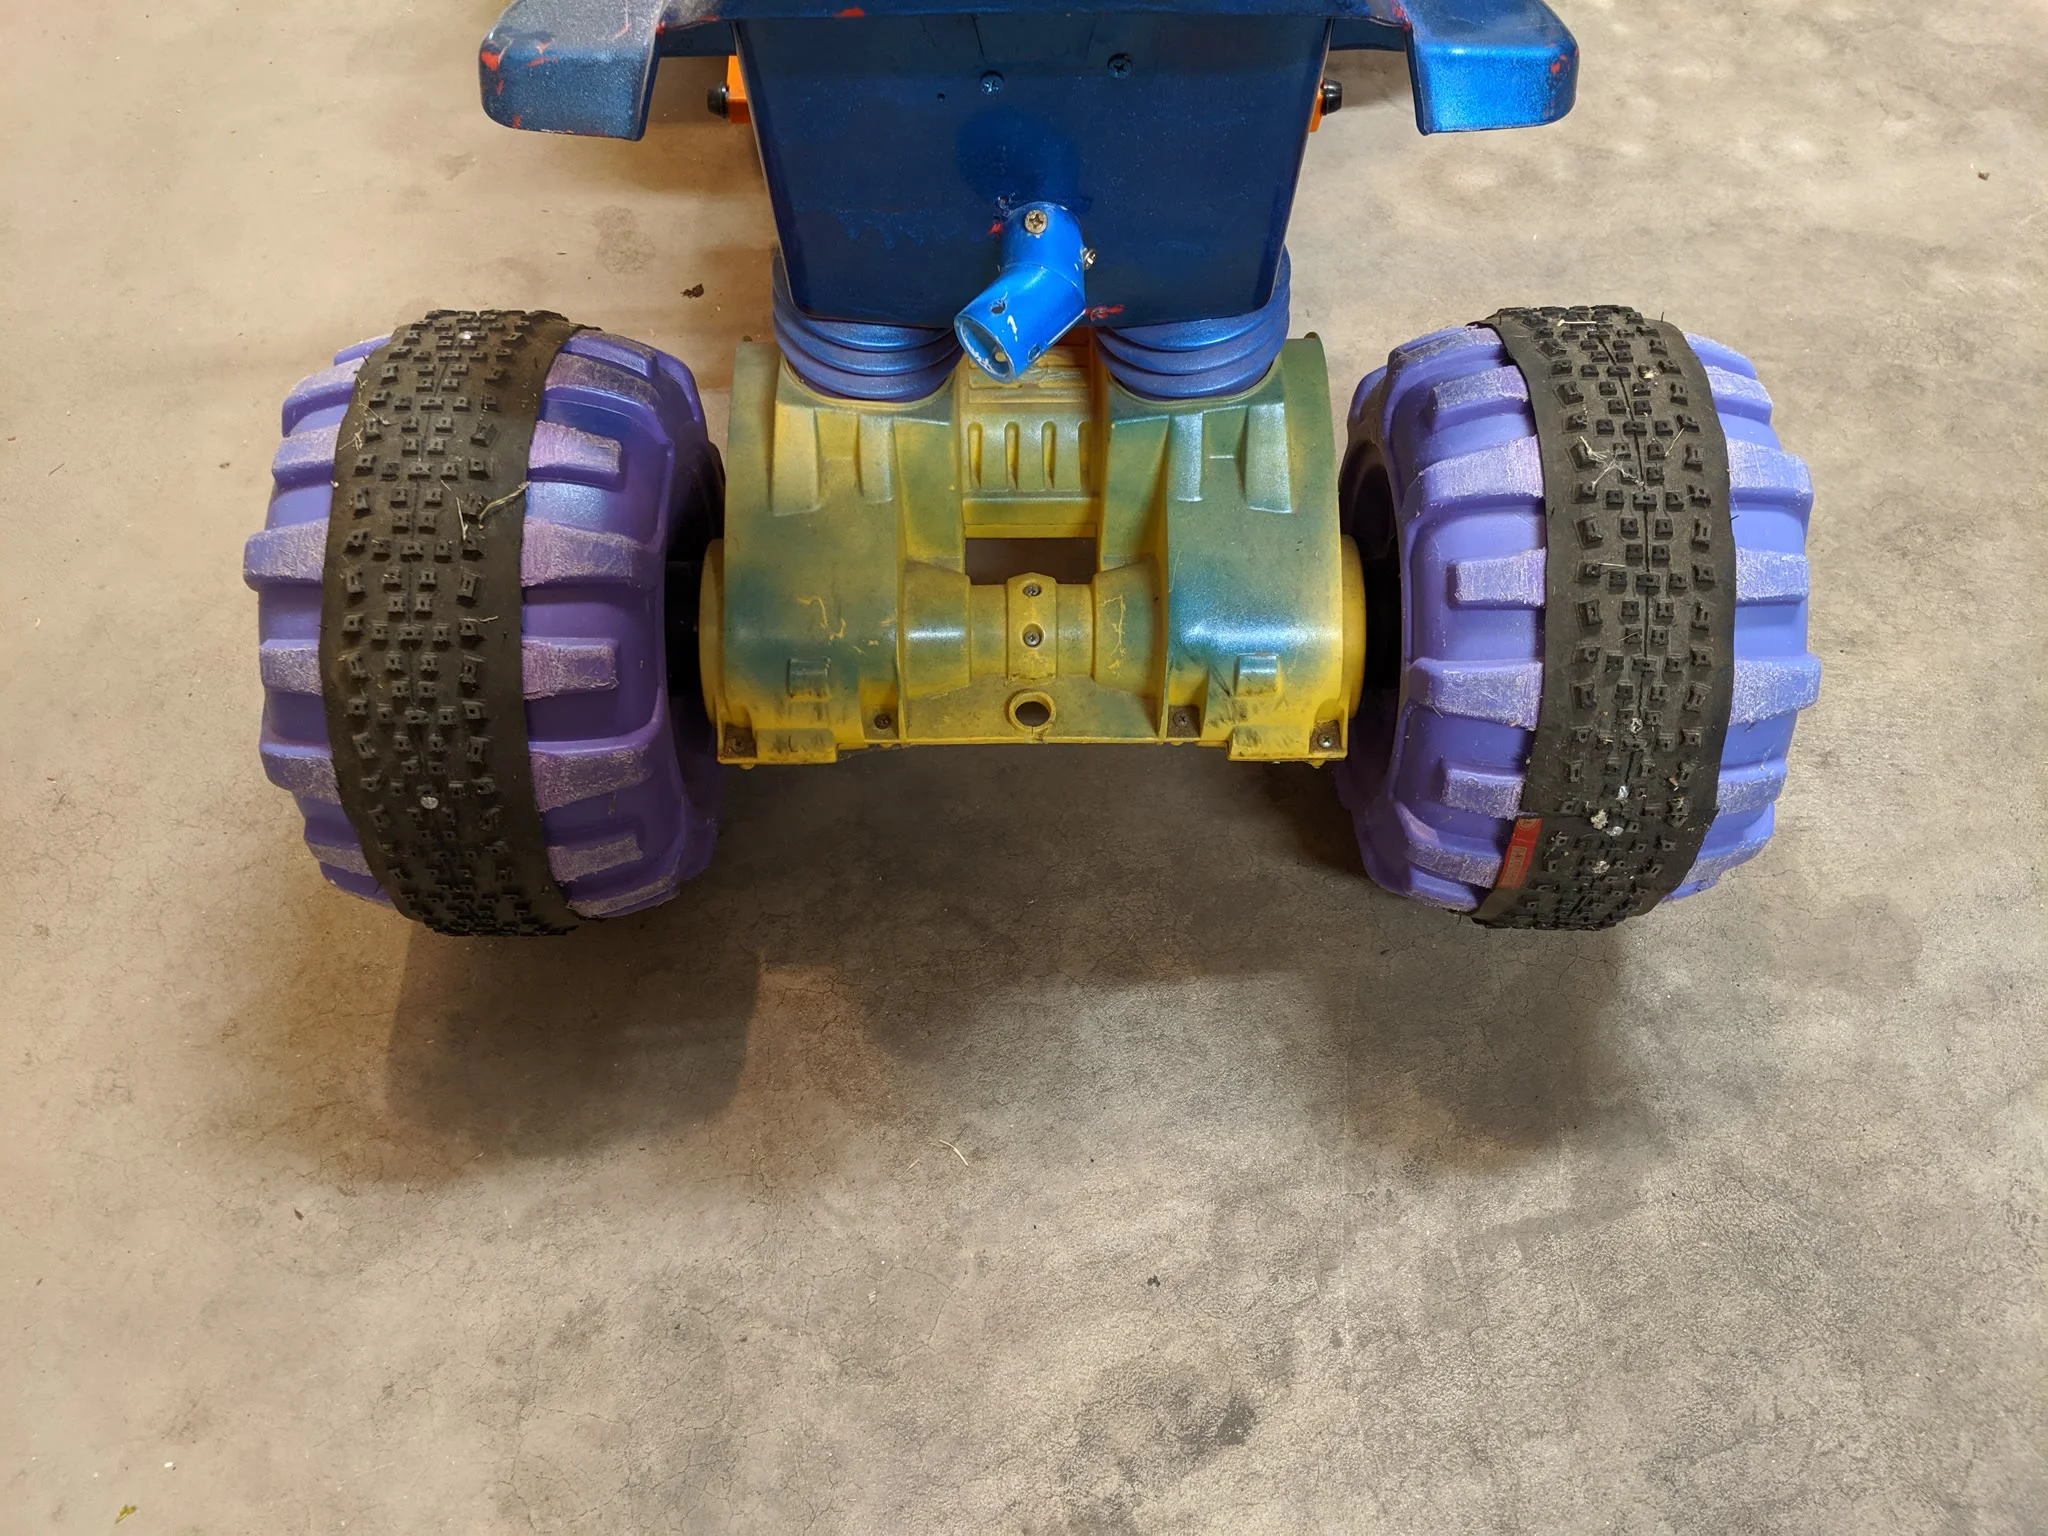
Now that the kids are getting bigger, I noticed that the wheels tend to spin out longer and that the ATV won’t stop as quickly as it used to. This was especially apparent when they tried to pull a heavier wagon. So I found a hack online showing how to take a bike tire, not an inner tube, and apply it to the hard plastic wheels to give them more traction.
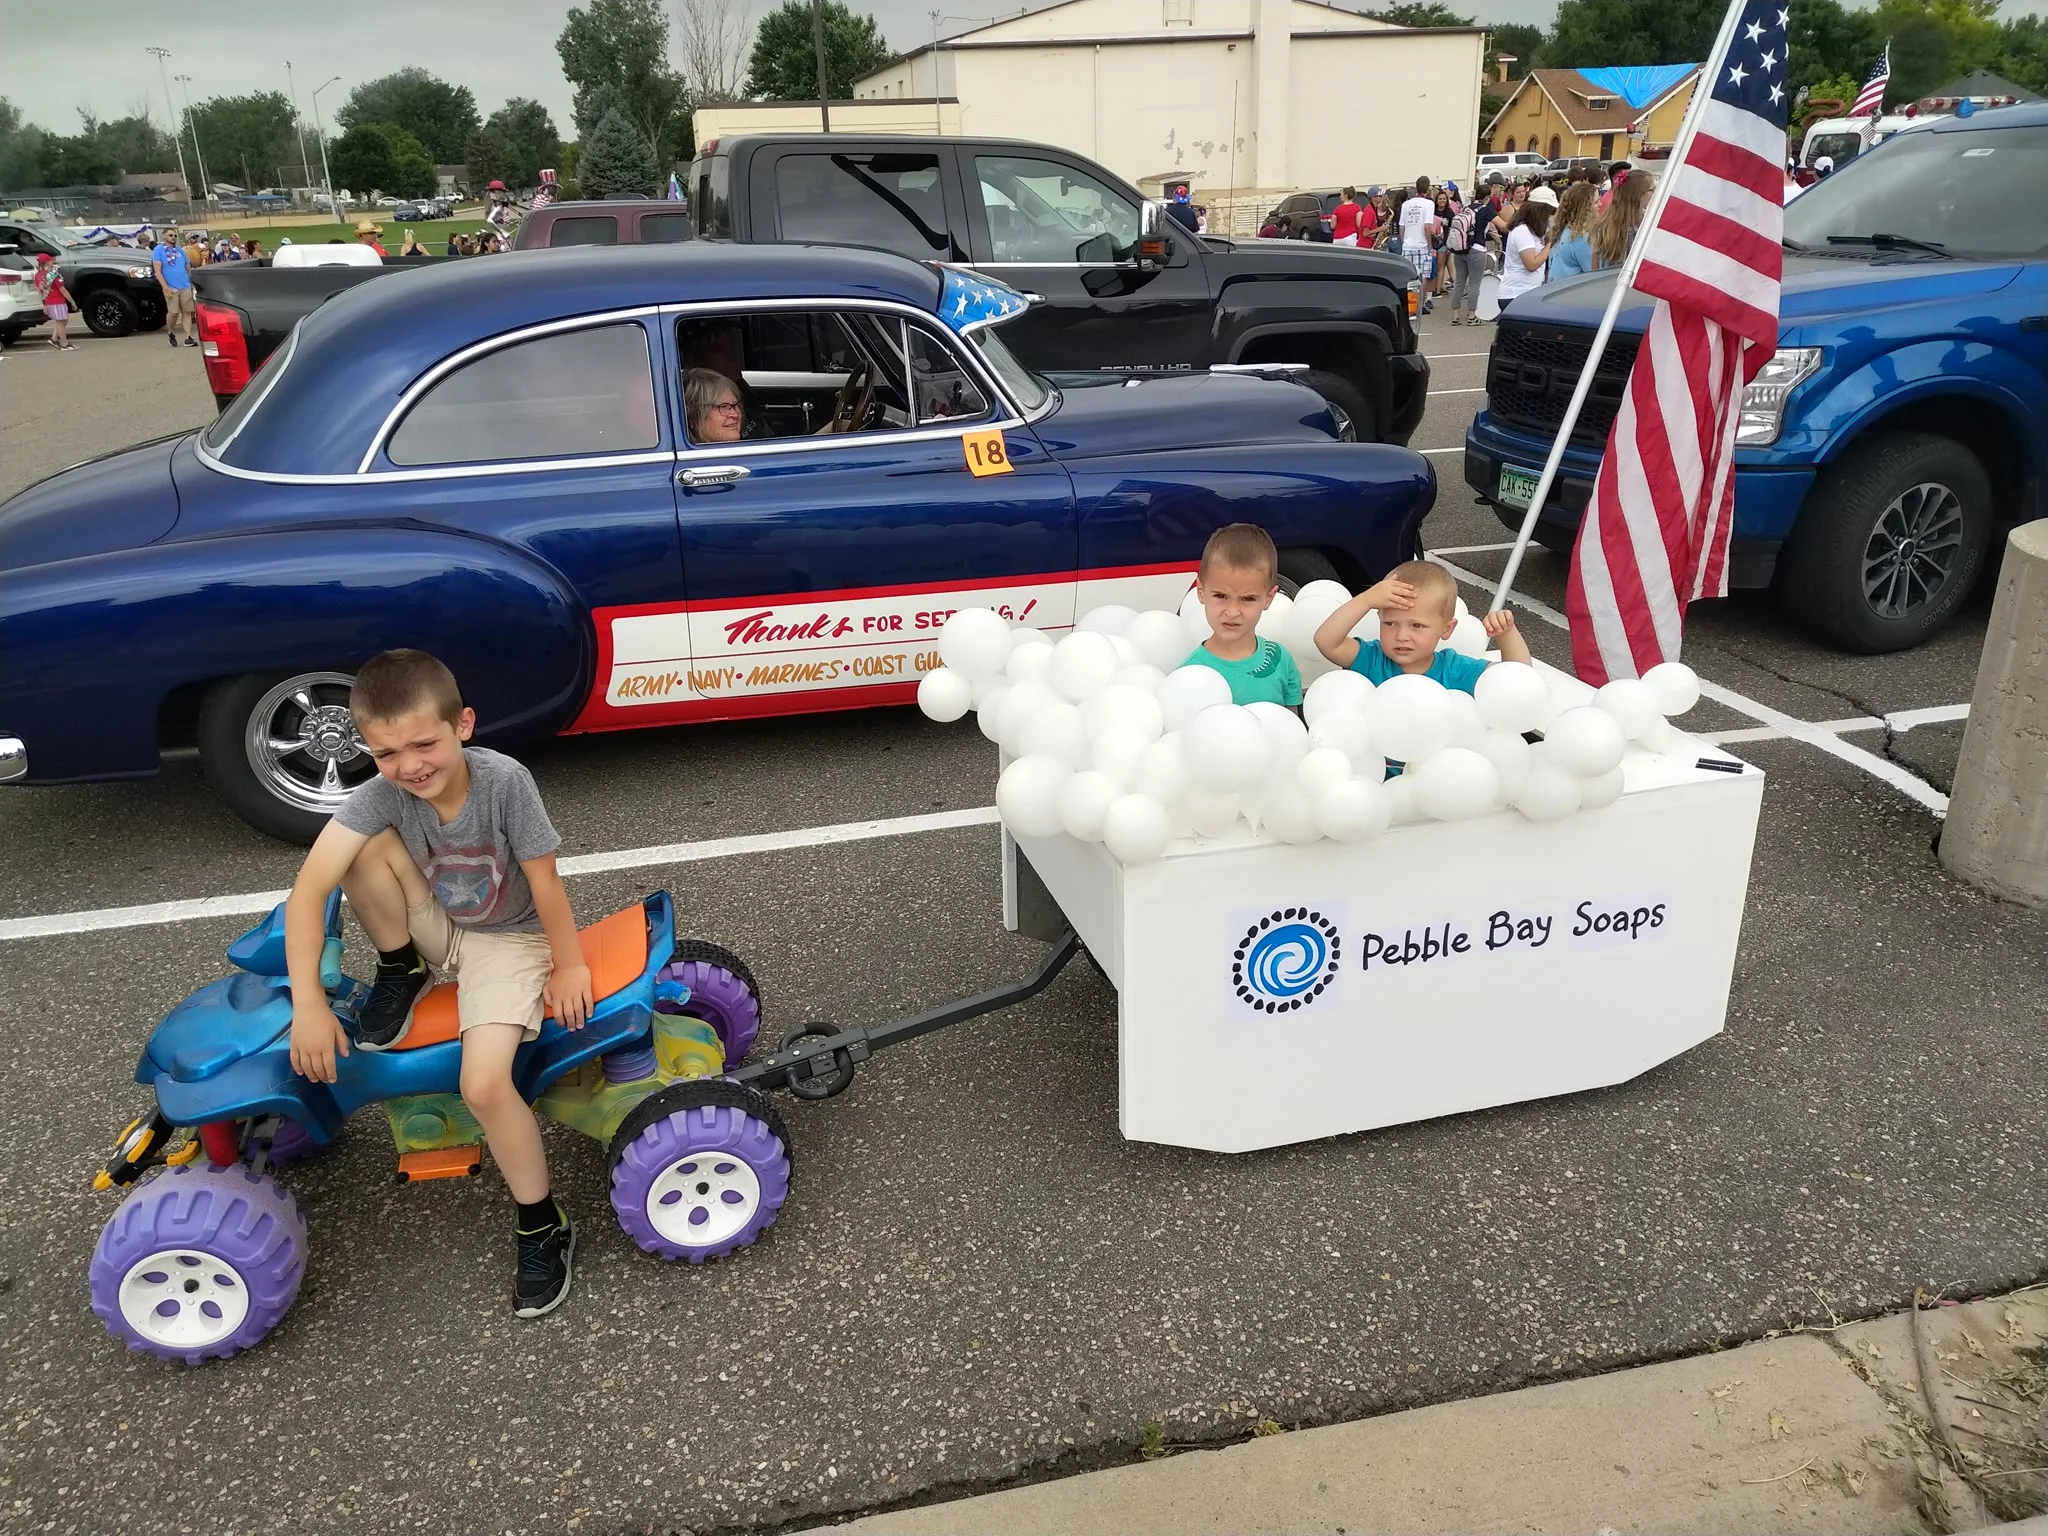
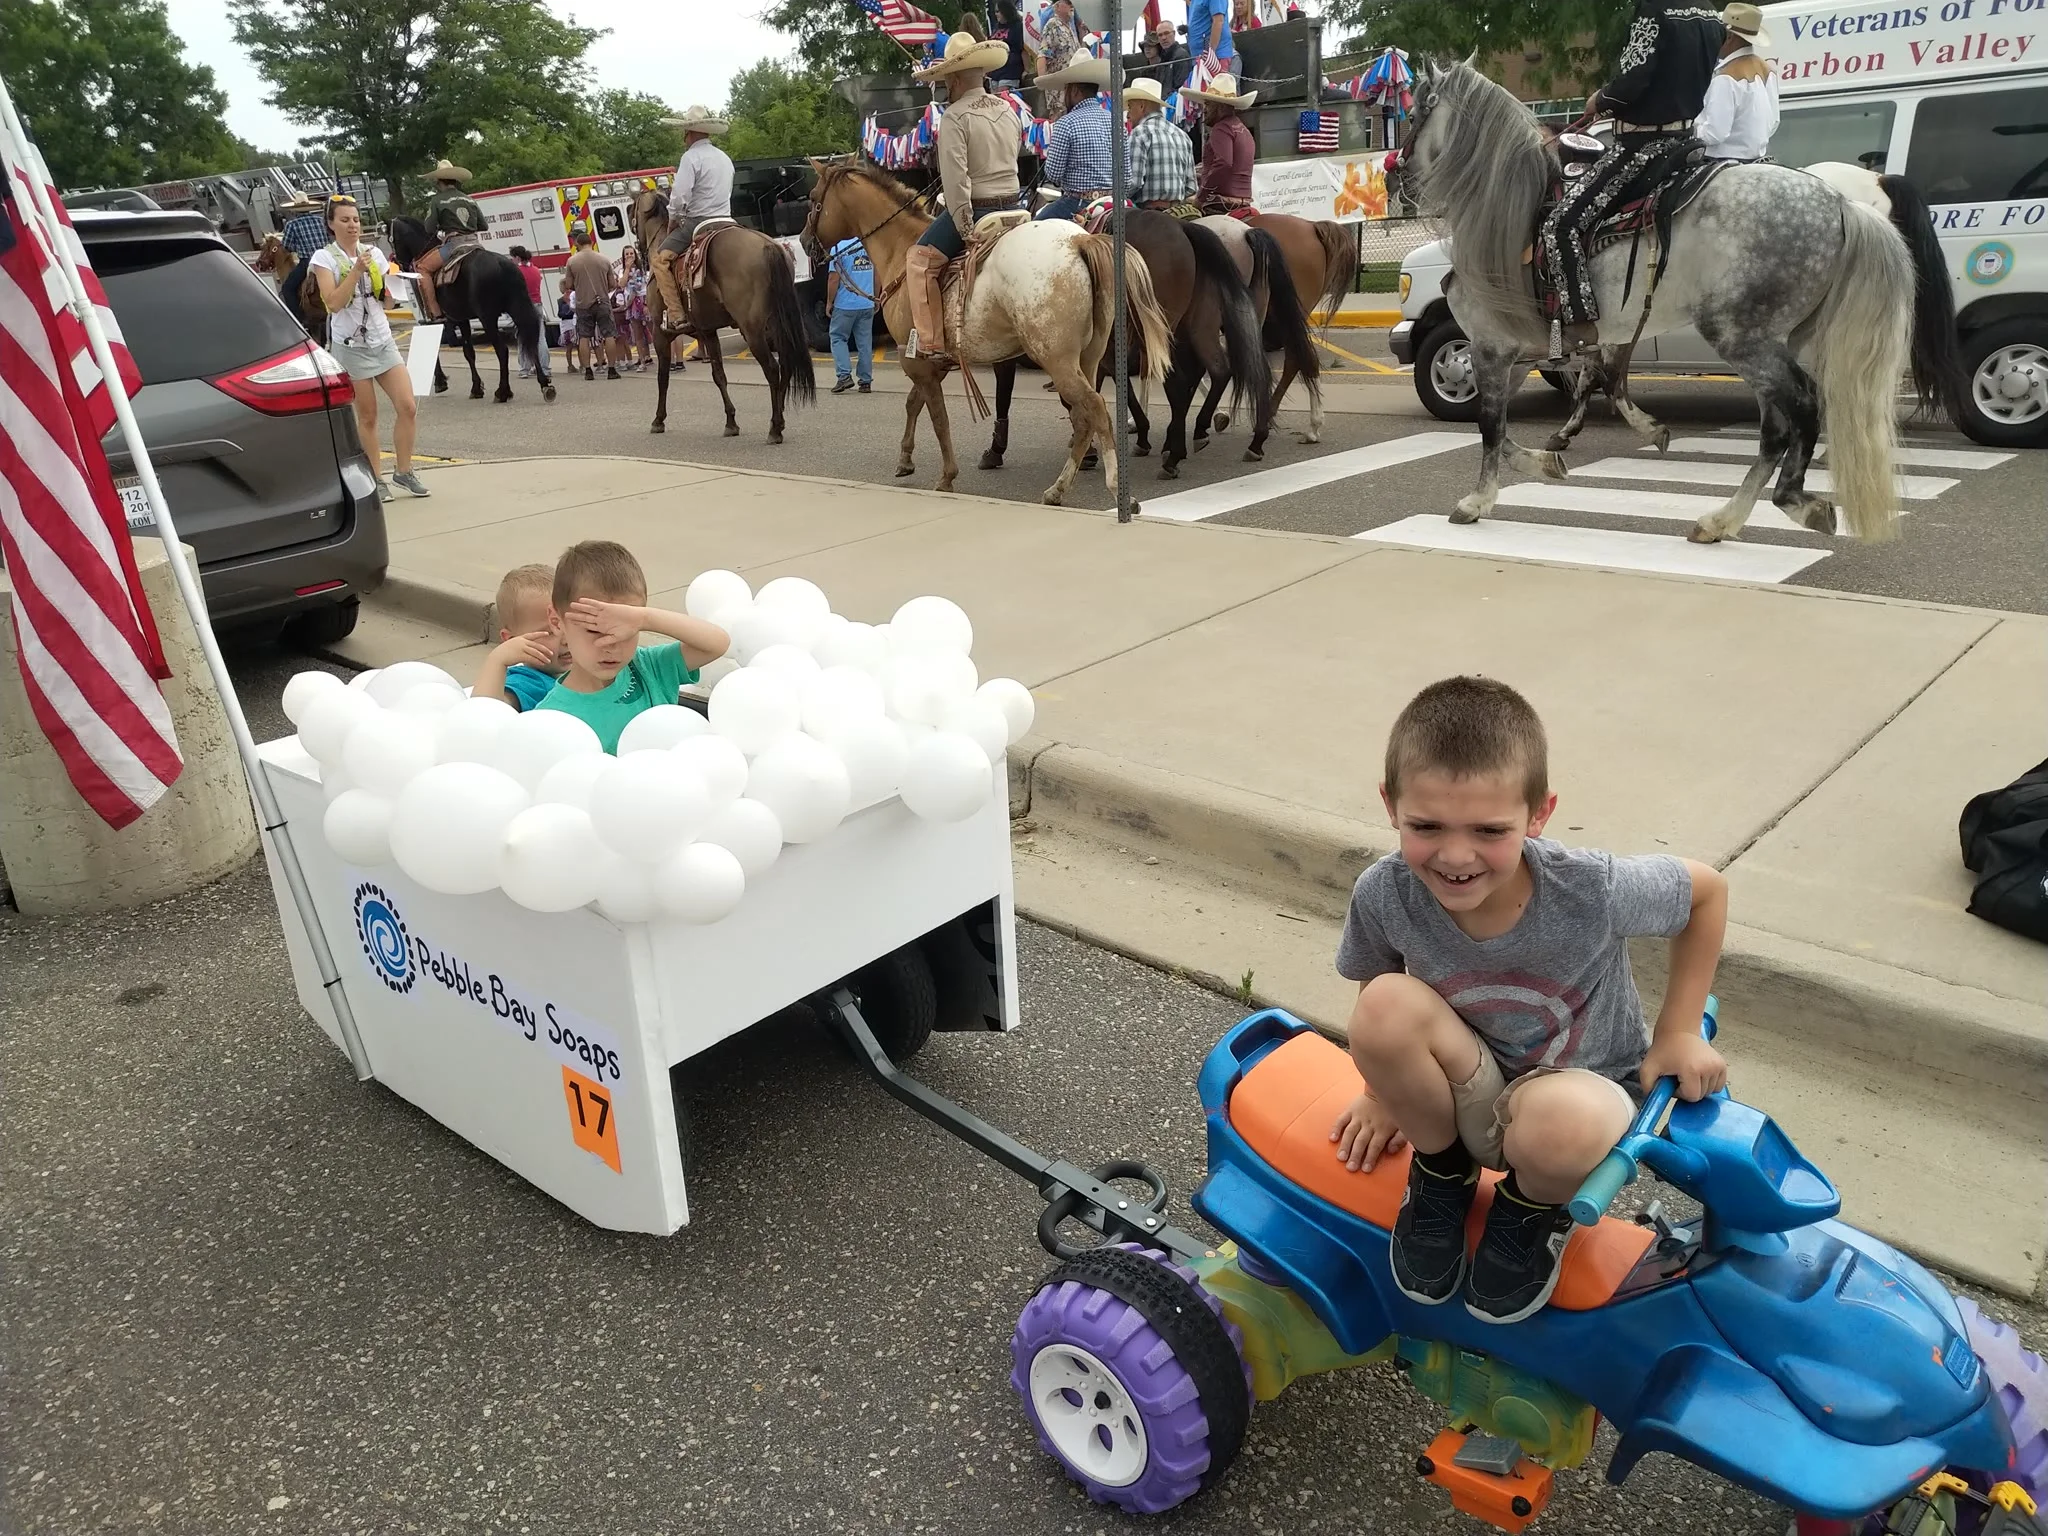
Pull a Parade Float
Okay, this one isn’t really a hack, but it was made possible by some of the hacks. It is also a neat thing I was able to do with my kids. We had a lot of fun, and they were able to help promote Mommy’s business (pebblebaysoaps.com). We also won third place for best float!